
Free bill analysis - bring a power bill, get the production math for your actual roof, panel brands like Qcells and REC compared side by side
If the pitch starts at your door and ends with "sign tonight for the special," sleep on it. The sun will still be there tomorrow; so will we.
 Before
 After
After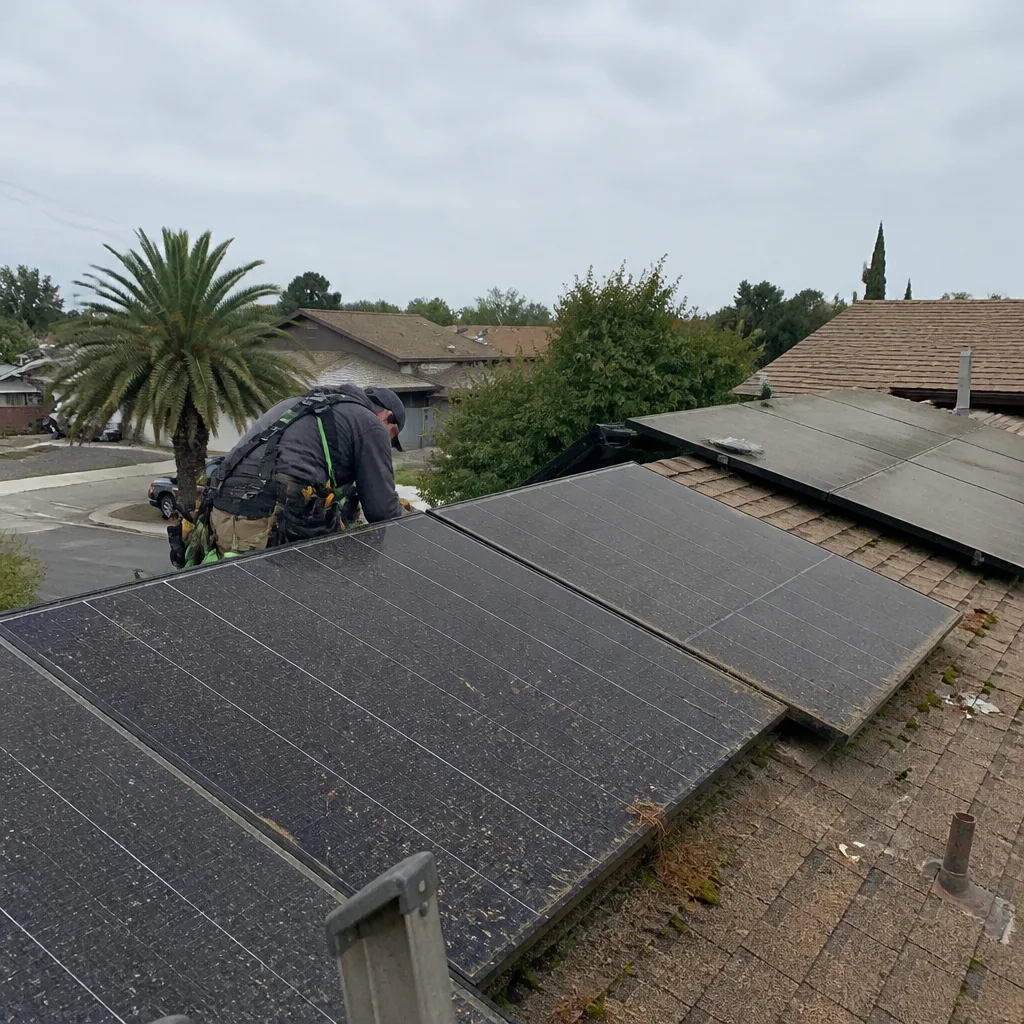 Before
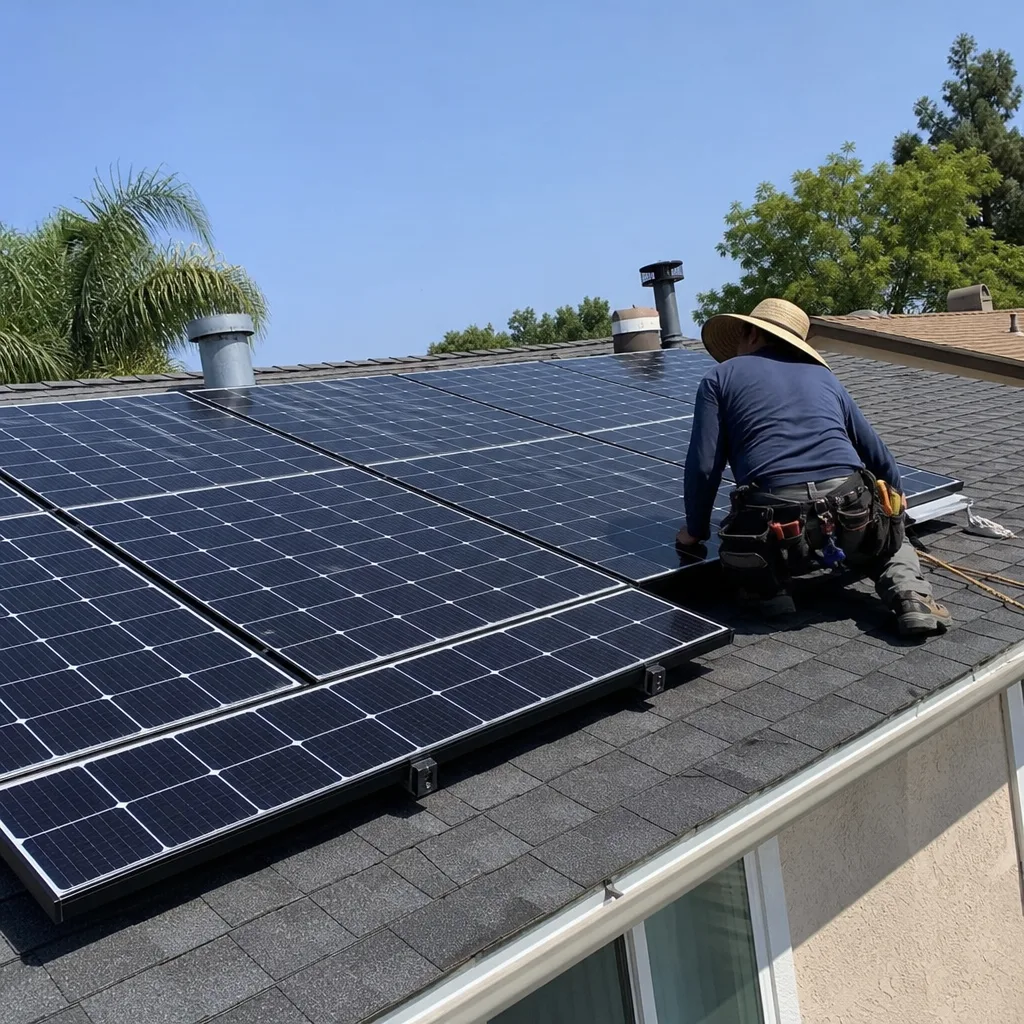 After
After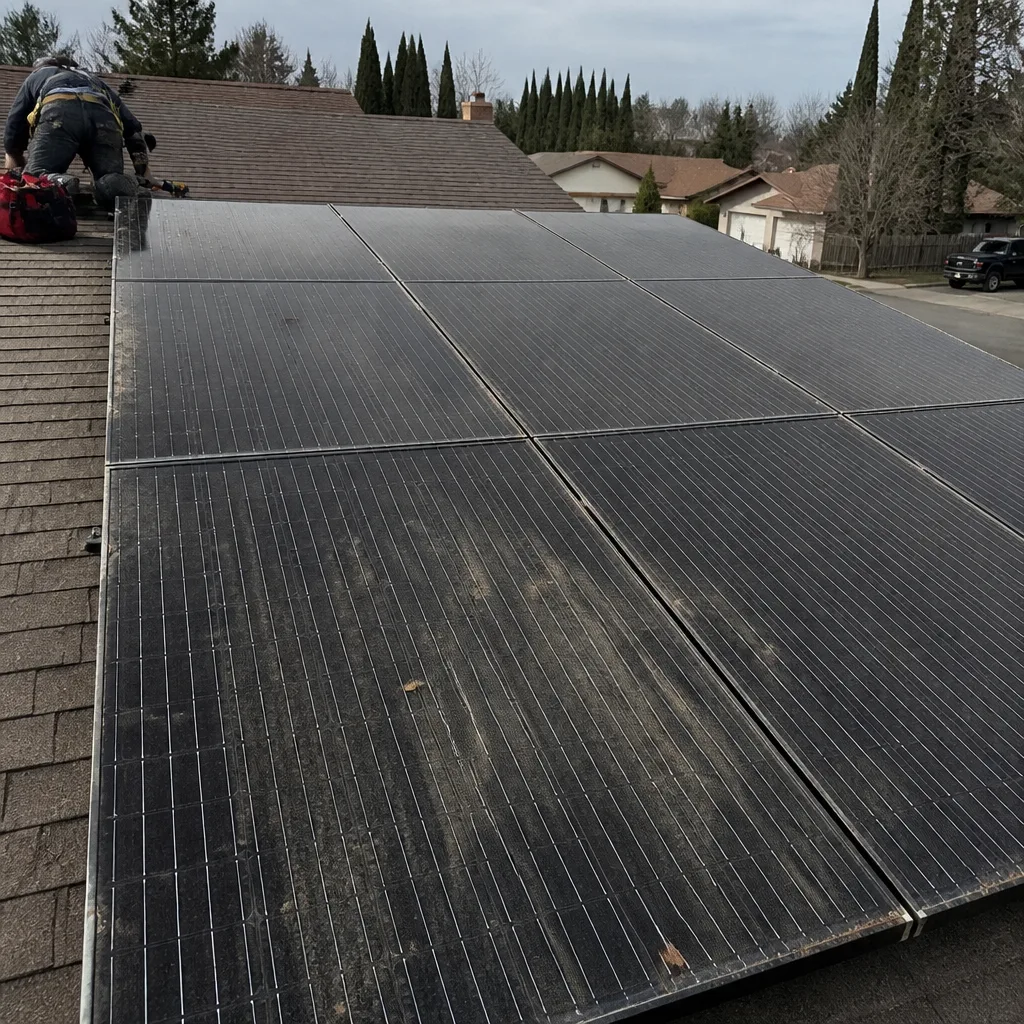 Before
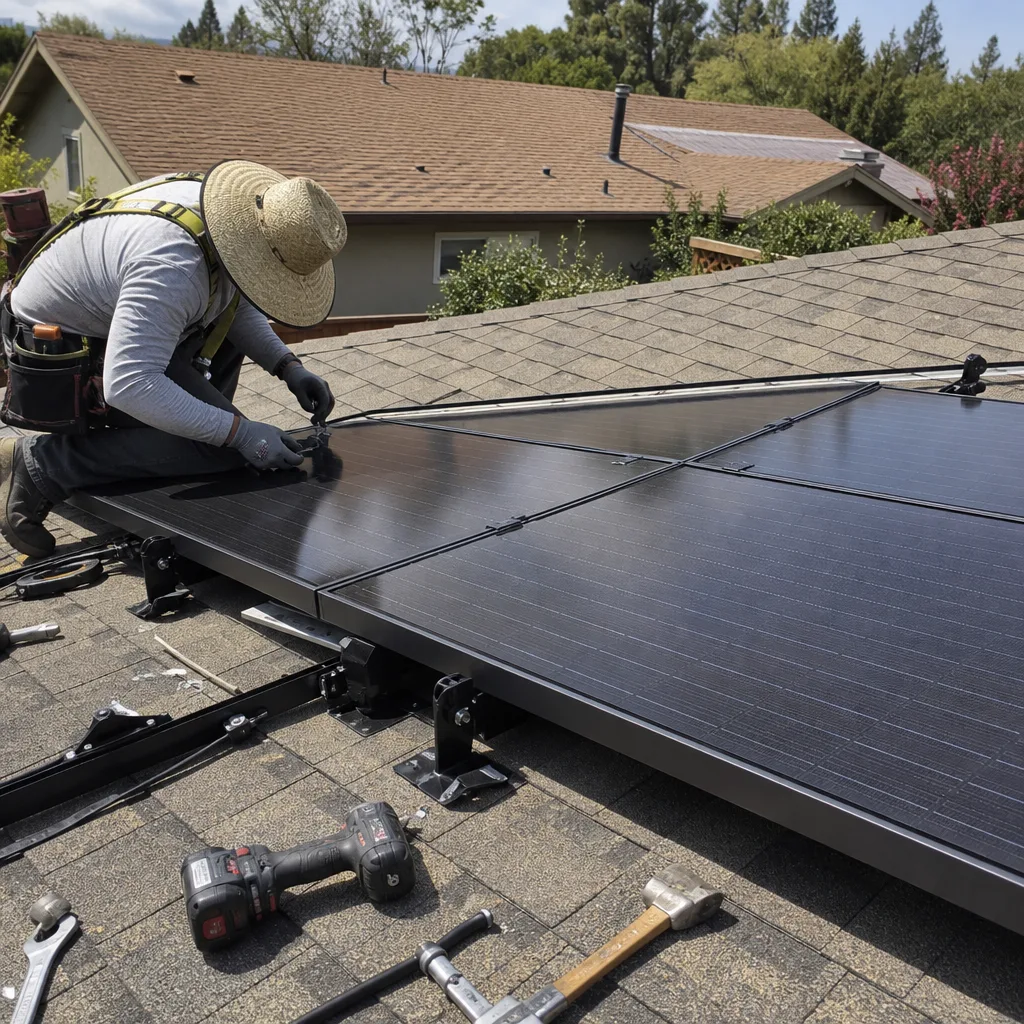 After
AfterTesla EV Charger Installation: The San Jose Owner’s Guide
Tesla EV charger installation in San Jose typically runs $1,200 to $3,800 installed, depending on whether you need a simple wall connector swap, a new circuit run, or a panel upgrade. We stock Tesla-spec equipment on the truck and can usually have your charger up and running same-day when the existing wiring is sound. Most homeowners call us after they notice the charger tripping the breaker, throwing a red error light, or charging at half the speed it used to.
Here’s the thing about EV chargers that most pages won’t tell you: the charger itself is rarely the whole story. In San Jose, where plenty of homes were built in the 60s and 70s, the real issue is often what’s behind the wall. Undersized panels, aluminum wiring from a previous owner’s DIY job, or a circuit that was never meant for continuous 48-amp draw. We see it weekly. The good news is that when a Tesla wall connector does fail, it’s usually a straightforward swap. When the home’s electrical infrastructure is the culprit, that’s a different conversation, and we’re honest about which one you’re dealing with before we touch anything.
Key takeaways:
- Installed Tesla charger cost in San Jose: $1,200 to $3,800 depending on scope
- Same-day install common when existing wiring is adequate
- We’re an independent shop, not affiliated with Tesla, but we install their chargers daily
- The charger itself is often fine; the circuit feeding it is the common failure point
Which Tesla Models This Applies To
Every Tesla model on the road today draws from the same three charger tiers: the Gen 2 Mobile Connector (portable, 120V or 240V), the Gen 3 Wall Connector (the hardwired unit most San Jose owners have in their garage), and the newer Universal Wall Connector launched in 2025, which adds a J1772 adapter for non-Tesla EVs alongside the native NACS plug. Model S, Model 3, Model X, Model Y, and Cybertruck all charge through these same units. No special charger exists for any one model.
The compatibility gotcha most owners miss: Gen 3 Wall Connectors manufactured before mid-2023 have a known firmware bug that causes intermittent ground-fault trips, especially on circuits where the ground and neutral share a path. Tesla issued a firmware fix, but units that were never connected to WiFi never got the patch. If your charger is on a detached garage or a spot with weak WiFi, and it trips randomly, that’s likely your culprit. The Gen 2 Mobile Connector, by comparison, rarely has electronic failures. Its weak point is the plug itself. The NEMA 14-50 adapter wears out from repeated plugging and unplugging, and we replace those routinely on service calls around Willow Glen and Cambrian.
OEM versus aftermarket: for the charger unit itself, we recommend sticking with the Tesla Wall Connector. Aftermarket chargers from Enphase or other brands work fine electrically, but if you want the full charging-rate handshake, over-the-air updates, and the cleanest integration with your Tesla’s scheduled charging, the OEM unit is worth the extra $100 to $150. For supporting hardware – breakers, conduit, subpanel lugs – we use Eaton, Square D, and Leviton parts that meet or exceed the original spec. That’s where honest aftermarket savings live.
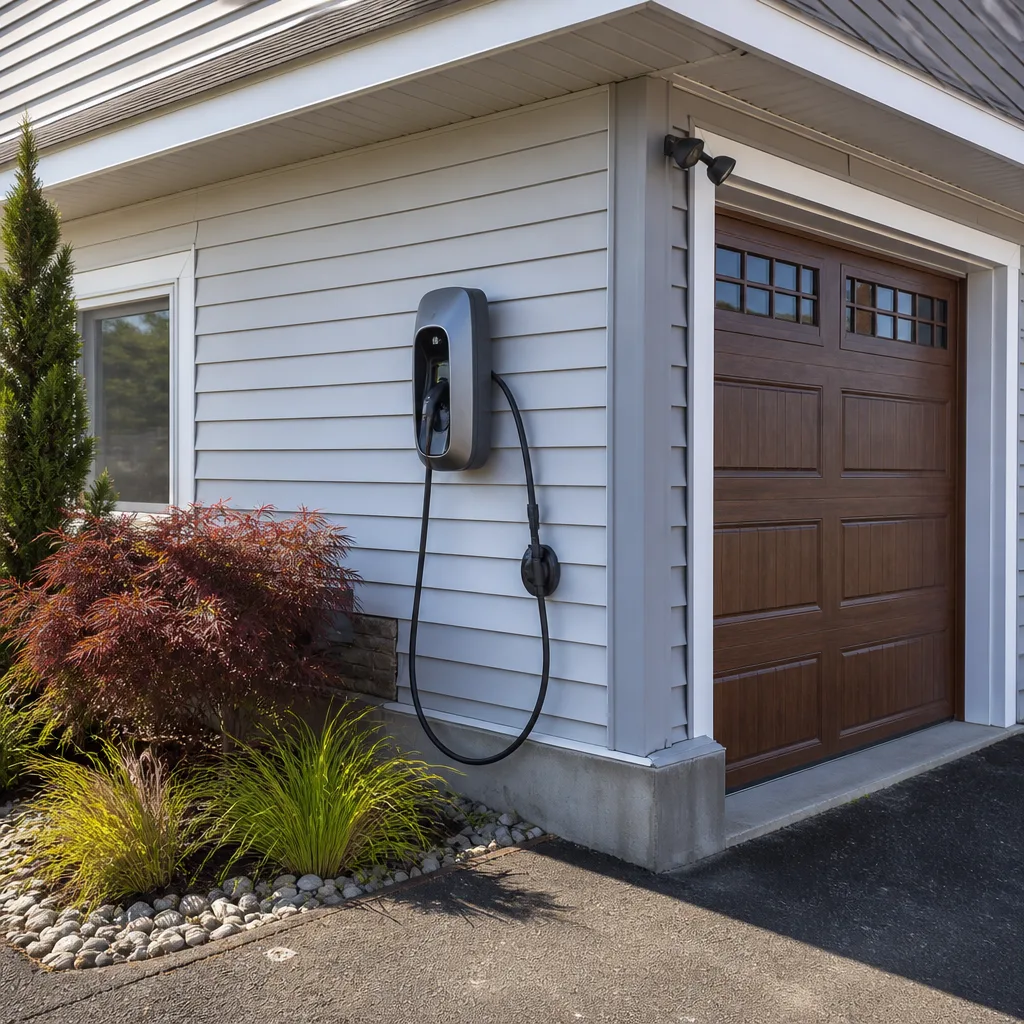
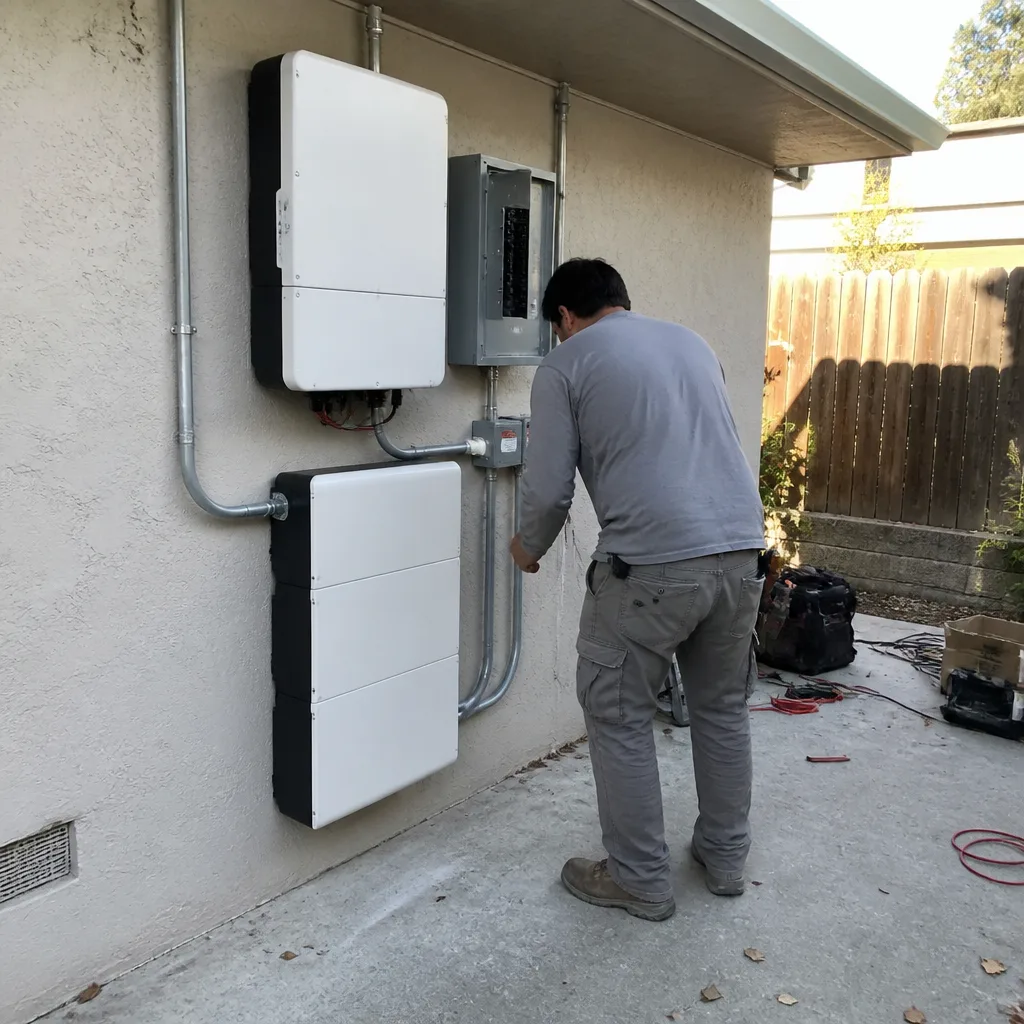
How to identify your unit: the Gen 3 Wall Connector has a curved, glass-front design and is about 13.6 inches tall. The Gen 2 is boxier with a flat face and measures about 15 inches. The model number is on a sticker on the side of the unit, usually starting with “TWC” followed by a generation code. Take a photo before you call, it speeds everything up.
Signs Your Tesla EV Charger Installation Is Failing
- Breaker trips within minutes of plugging in. This usually points to a loose connection at the breaker or inside the charger, which creates heat and trips the thermal protection. It can also mean the breaker itself is worn out. Breakers that trip repeatedly develop internal wear and trip easier each time.
- Red error light on the faceplate (Gen 3) or red blink sequence (Gen 2). Gen 3 units flash specific red patterns for specific faults. A solid red with one green blink means a ground fault. Three red blinks means overheating at the terminals. We read these codes on every service call; they narrow the diagnosis down to the component level before we open anything.
- Charge rate dropped from 48 amps to 24 or 12 amps without you changing settings. This is the charger’s thermal protection kicking in due to heat buildup, often from a loose connection inside the unit or at the wall. Left alone, the heat worsens and becomes a fire risk. The slowdown is the warning.
- Plug or faceplate feels warm to the touch mid-charge. Warm is normal. Hot enough that you don’t want to keep your hand on it is not. That kind of heat means resistance somewhere, and resistance in a 48-amp circuit eventually melts insulation.
- Charging works sometimes and not others, with no pattern. In San Jose’s older neighborhoods with overhead service drops, this often traces back to a strained neutral at the weatherhead or main panel, not the charger at all. We carry the tools to test line voltage under load and find out exactly where the fault sits.
Replacement Cost & What’s Included
A direct Tesla wall connector swap in San Jose, where the existing circuit is in good shape, runs $350 to $750 in labor plus the unit cost. The Gen 3 Wall Connector itself lists around $450; the Universal Wall Connector is about $550. So a simple swap lands between $800 and $1,300, all in. If we’re running a new 240V circuit from the panel, which most San Jose installs need when moving from a 120V outlet to a hardwired charger, the total ranges $1,200 to $2,500 depending on the panel location, the run distance through walls or attic, and whether we need to open drywall.
At the top end, $2,800 to $3,800 covers charger plus a panel upgrade or subpanel addition. That’s common in San Jose homes that still have a 100-amp service from the 1970s and want to run a 48-amp charger alongside an electric dryer, AC, and maybe a second EV. The price includes the permit, which we pull ourselves, and the inspection. No hidden line items. We quote the parts at cost plus a standard margin, and we show you the math before anyone starts. If your panel needs a $2,400 upgrade to support a charger you’d use twice a week, Gus will be the first to tell you to consider a 24-amp circuit instead and save the money. Here’s what we’d do if it were our roof.
Every installation is backed by our 90-Day Done Right Promise: if something isn’t right, we come back and make it right, in writing. We also honor a 10% senior and veteran discount on every job, no expiration.
DIY or Call Us?
For EV charger work, the honest split is this: you can safely verify a few things yourself. Check that the breaker is the right size, usually 60 amps for a 48-amp charger. Look at the charge-rate settings in your Tesla app. Confirm the plug is fully seated. That’s about where it ends. Working inside a live electrical panel or opening a hardwired charger carries real risk. A 240-volt circuit can stop your heart. If you’re not certain the circuit is dead, don’t open the unit.
What goes wrong with DIY on these jobs is usually the same thing: someone lands the wire on the wrong terminal, torques it improperly, and the connection loosens over months until it overheats. By then the fix costs more than the install would have. If you’re in San Jose and want a second set of eyes, call (877) 550-6892. We’ll tell you over the phone if it sounds like something you can handle or something we should come look at. No charge for the conversation.
FAQs
A properly installed Tesla Wall Connector typically lasts 12 to 15 years in San Jose’s climate, with the internal relays being the first component to wear. Coastal fog and garage humidity can shorten the lifespan of the older Gen 2 units slightly, but the Gen 3 and Universal units are sealed better and hold up well in the South Bay. Call (877) 550-6892 if your unit is older than ten years and acting up; it’s usually time to plan a replacement rather than chase repairs.
Yes, in many cases the charger can be repaired. Loose terminals, worn plugs on the Mobile Connector adapter, and tripped internal breakers are all repairable on-site, usually for $150 to $350 in labor. However, when the internal charging relay or the mainboard on a Gen 3 fails, replacement is cheaper than repair. We’ll tell you which one applies to your unit before spending a dollar.
A direct swap of an existing wall connector takes 60 to 90 minutes. A new circuit run is a half-day job. A full panel upgrade plus charger install is a full day, sometimes a day and a half with inspection scheduling. We can usually start within two to three business days of your call.
Yes, we carry the Gen 3 Wall Connector and the Universal Wall Connector on the truck, along with NEMA 14-50 replacement adapters for the Mobile Connector and the standard breakers and lugs for most San Jose panels. If you need a charger today, call (877) 550-6892 and ask if we have your unit in stock. Most of the time, we do.
Call Gus’s Solar for Tesla Charger Work in San Jose
If your Tesla charger is acting up or you’re ready to get one installed, call (877) 550-6892. A live person answers, 24/7. No call center, no voicemail tree. We’ll talk through what’s happening, give you a straight price over the phone when we can, and send Gus’s own crew out, background-checked, uniformed, and ready to finish the job right the first time. We’ve been doing this in San Jose since 2011. Bring us the details and we’ll bring you honest math.
Written by Gus Petrakis, Owner, Gus’s Solar at Gus’s Solar, serving San Jose and nearby areas.