
Free bill analysis - bring a power bill, get the production math for your actual roof, panel brands like Qcells and REC compared side by side
If the pitch starts at your door and ends with "sign tonight for the special," sleep on it. The sun will still be there tomorrow; so will we.
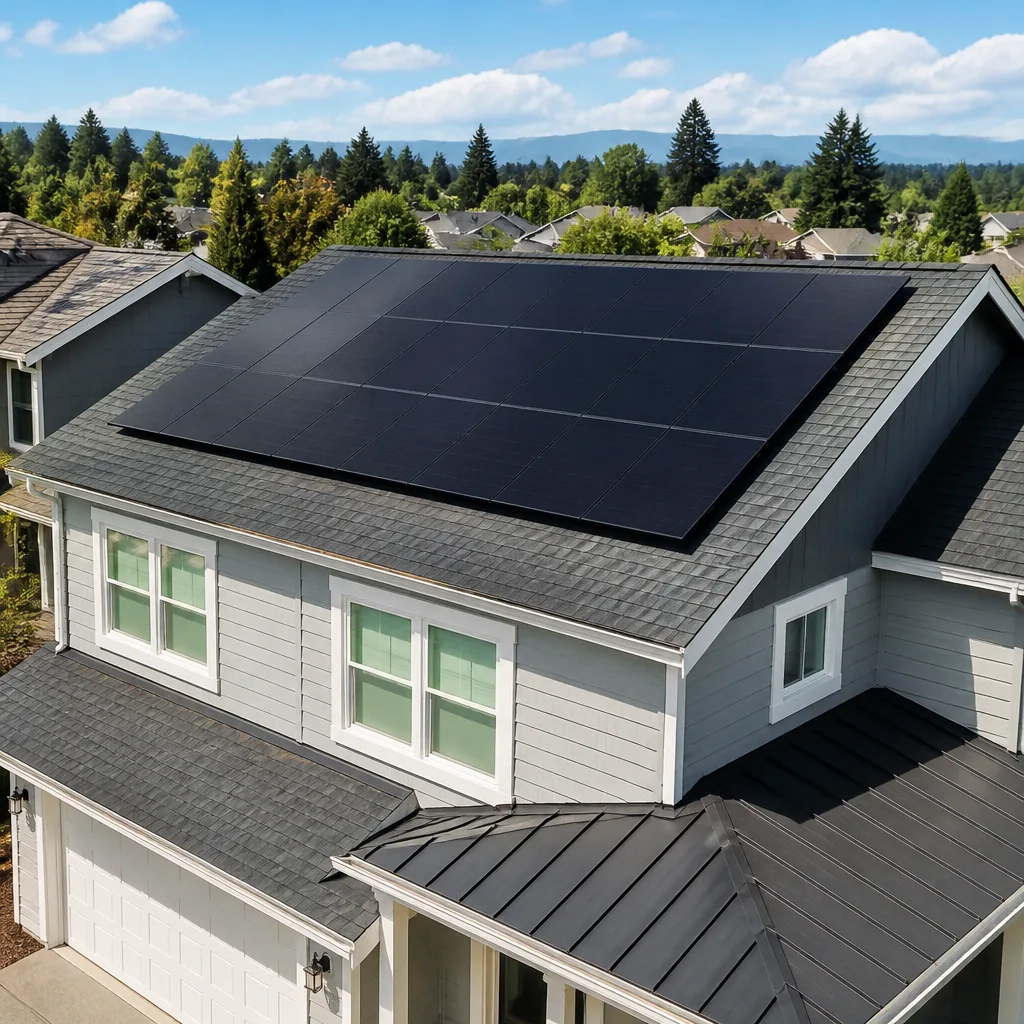
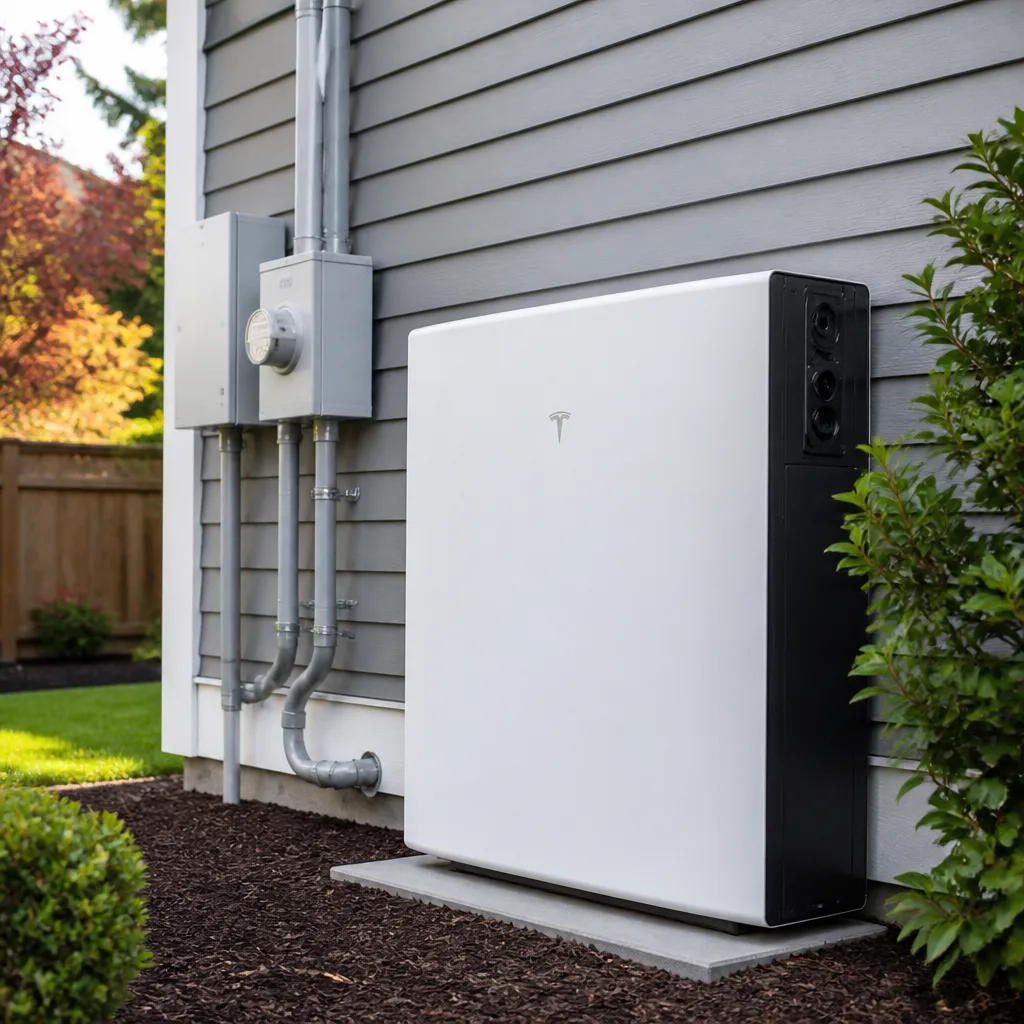
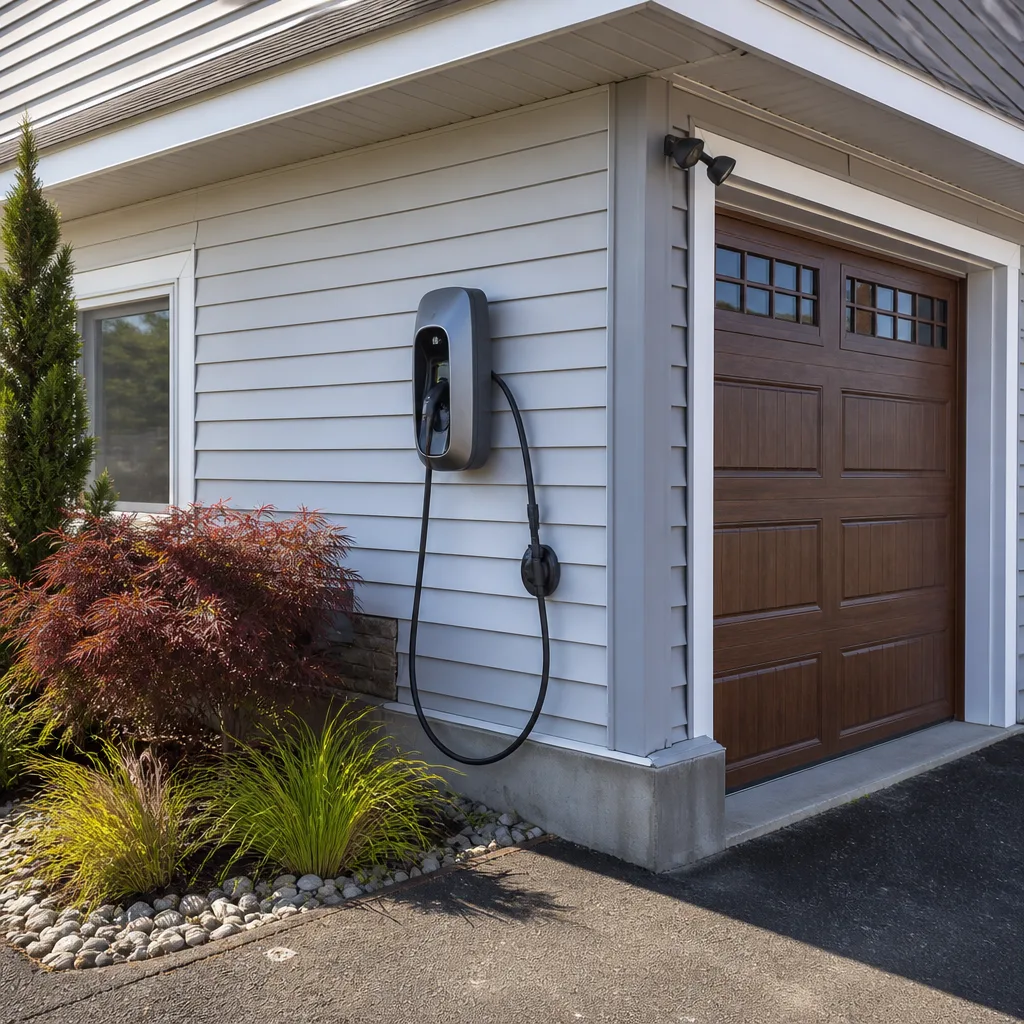
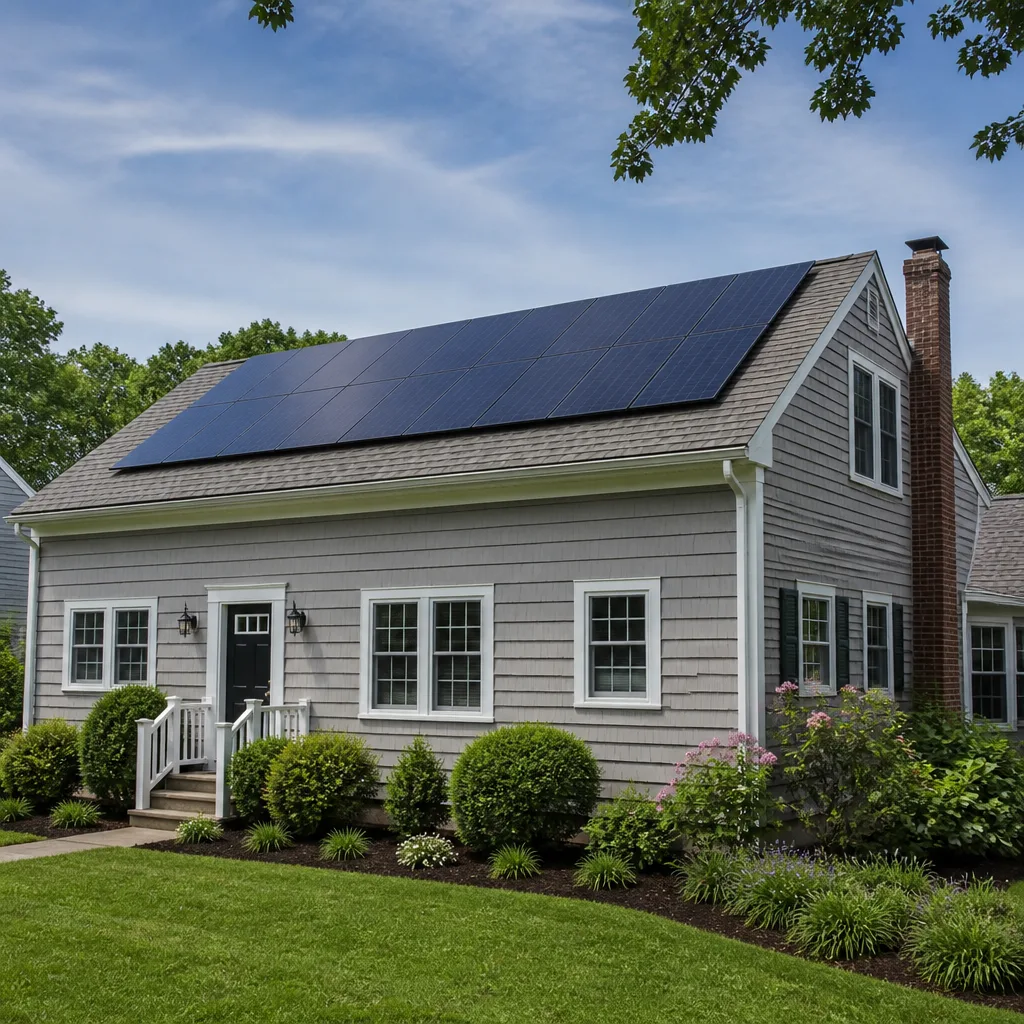
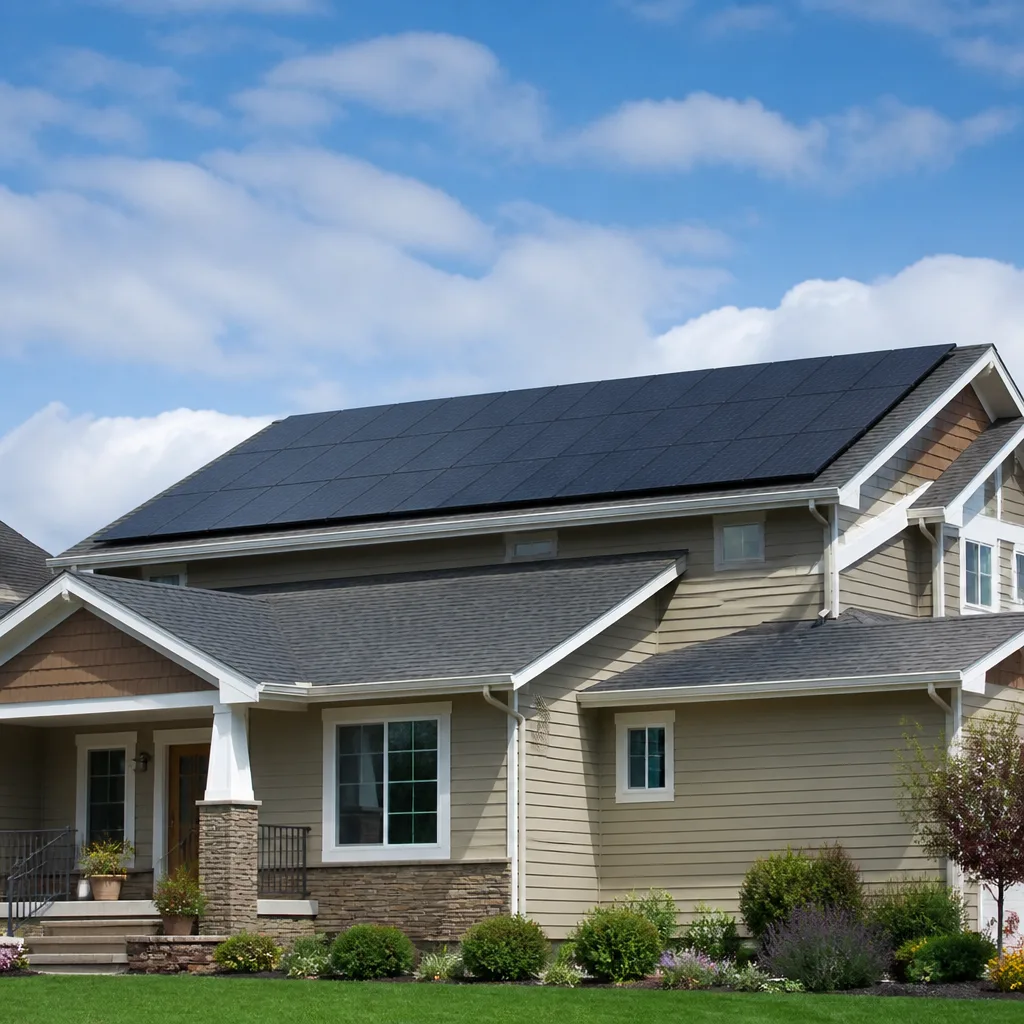
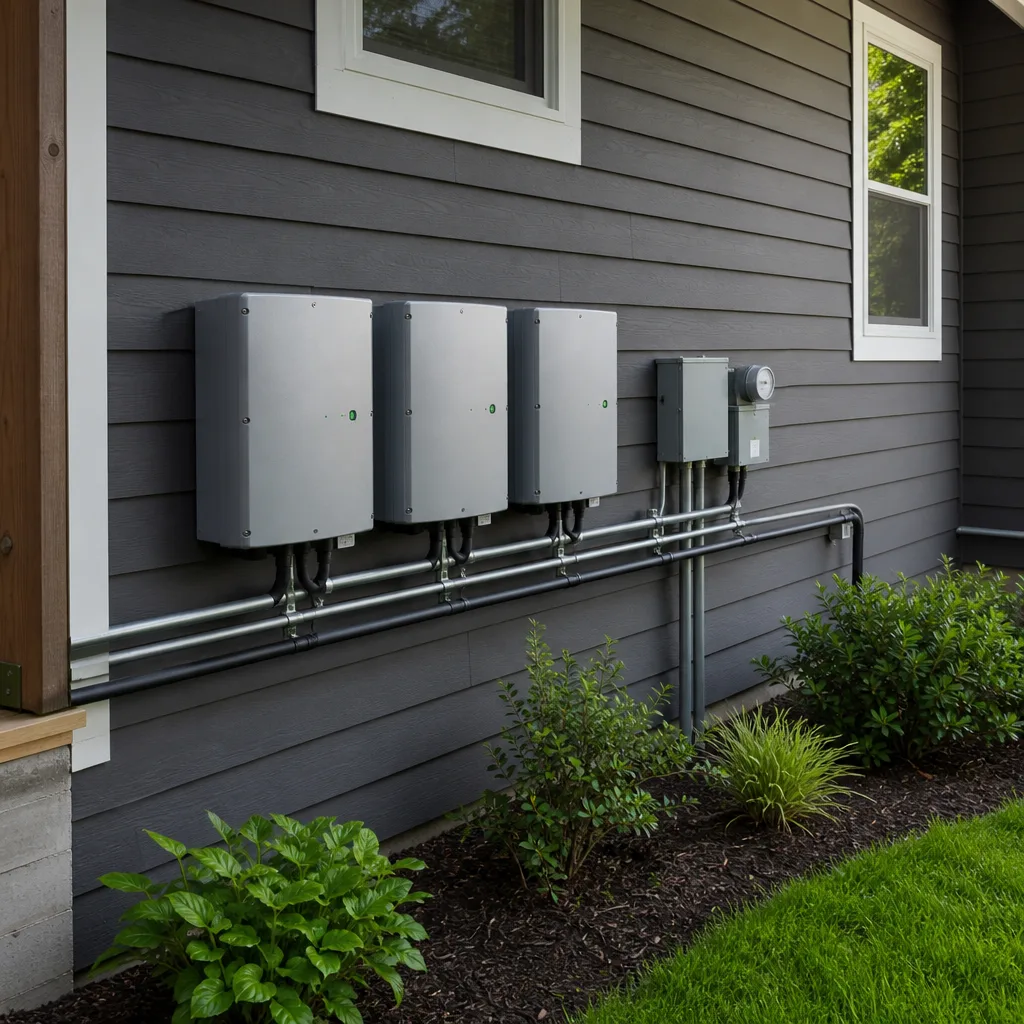
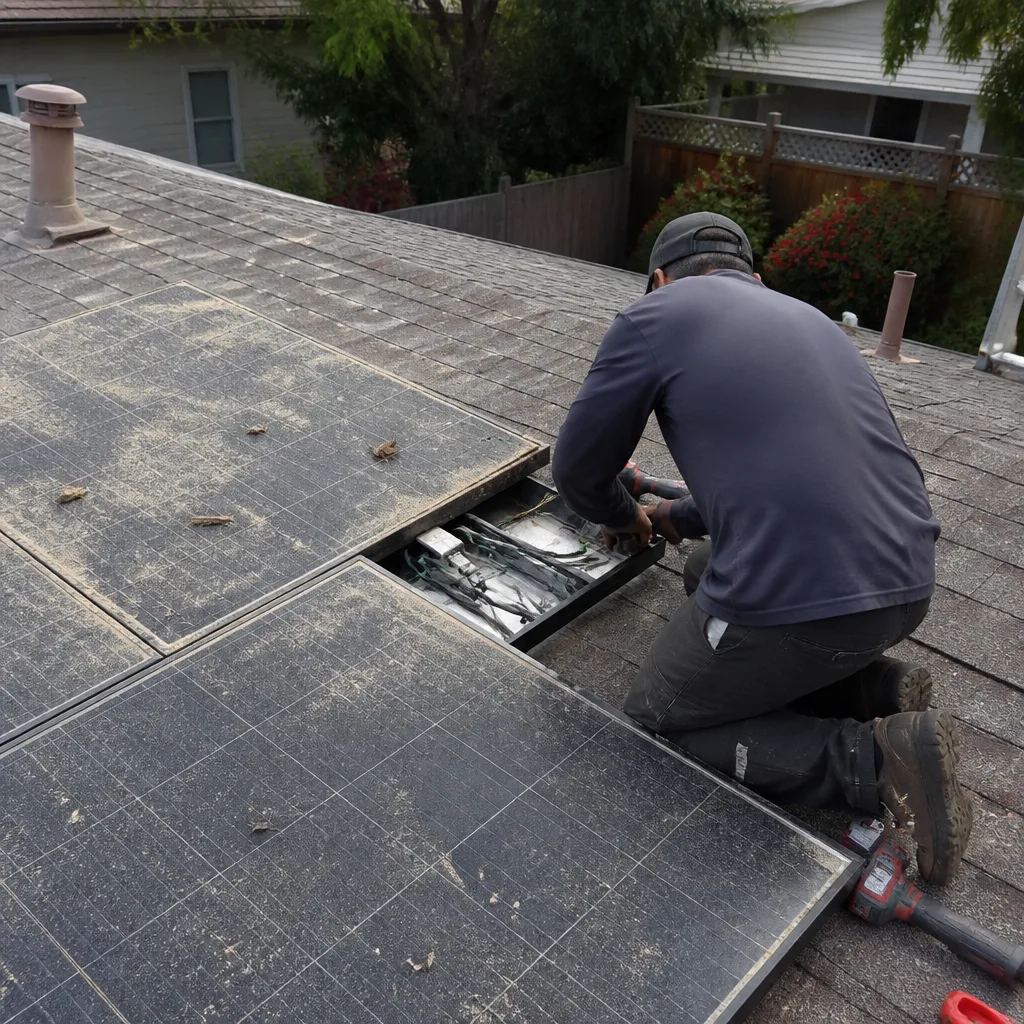 Before
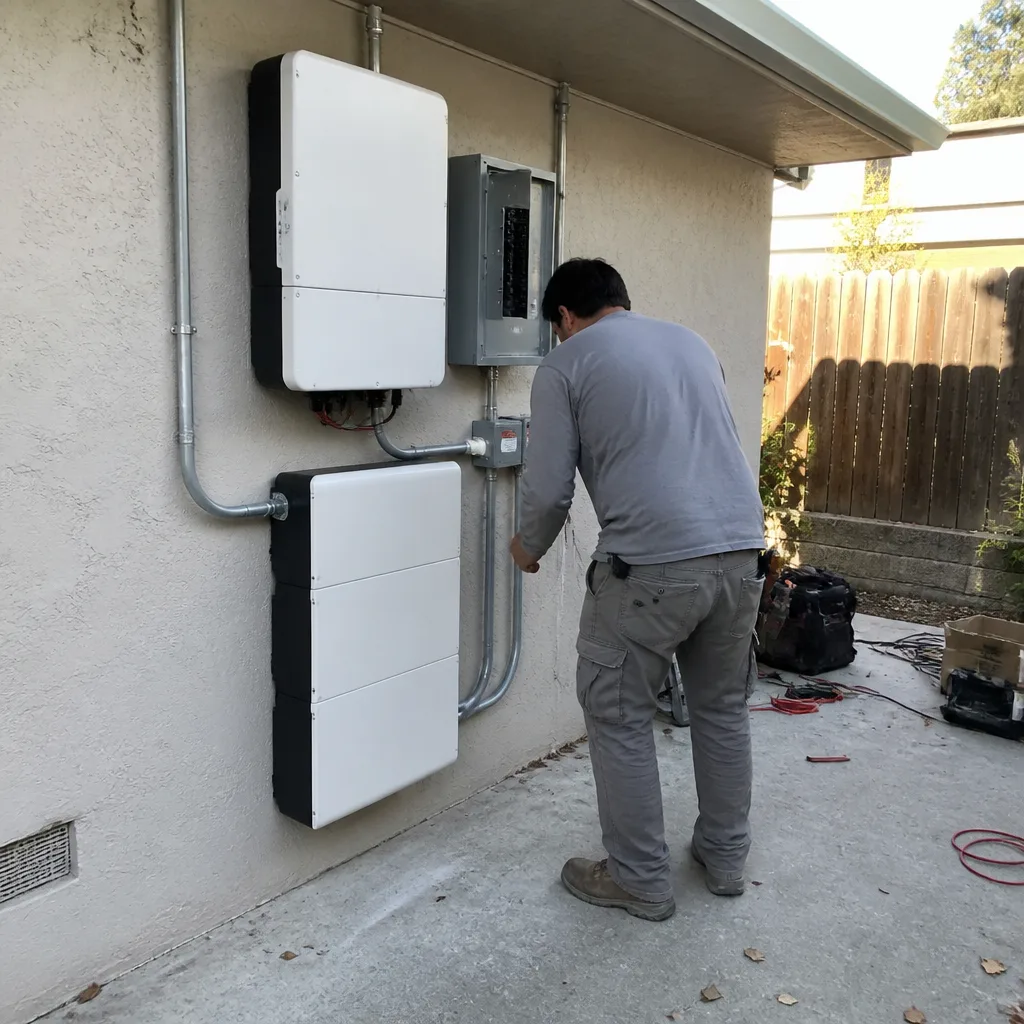 After
After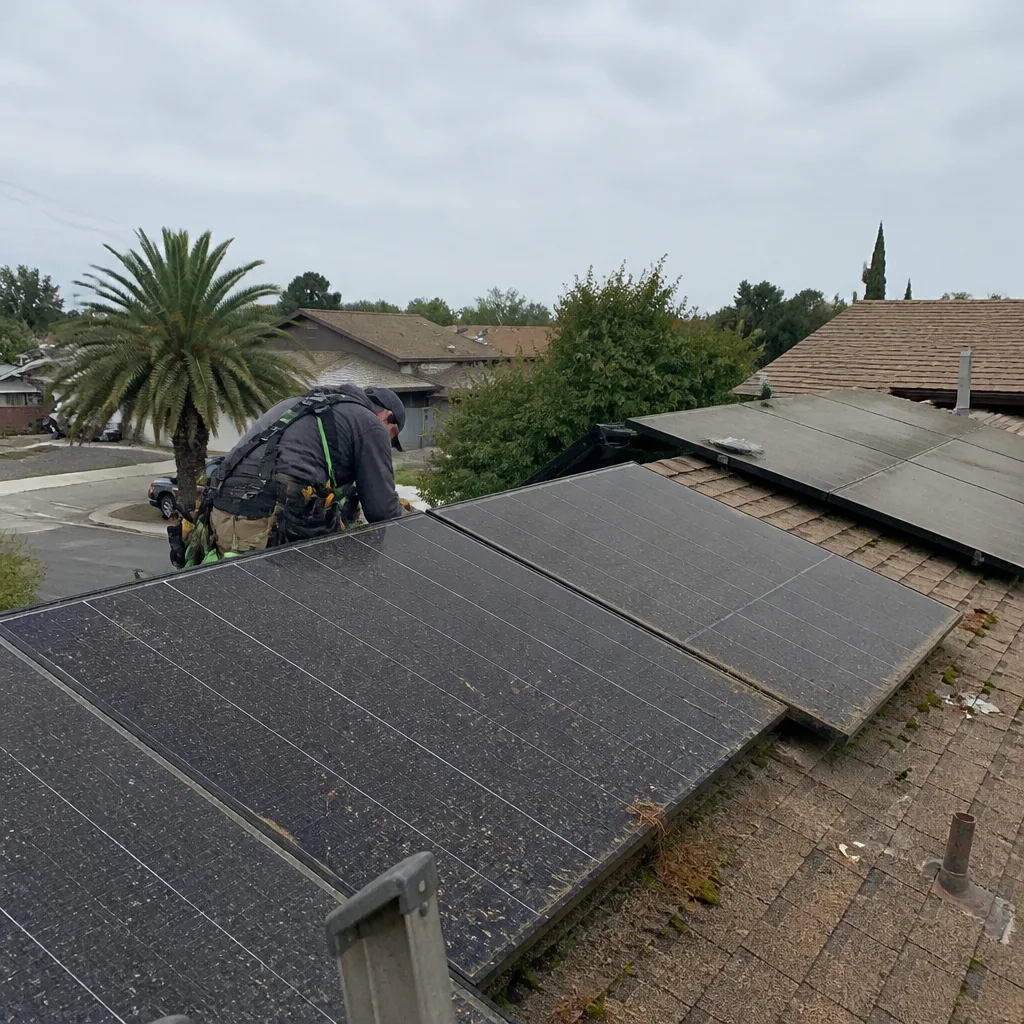 Before
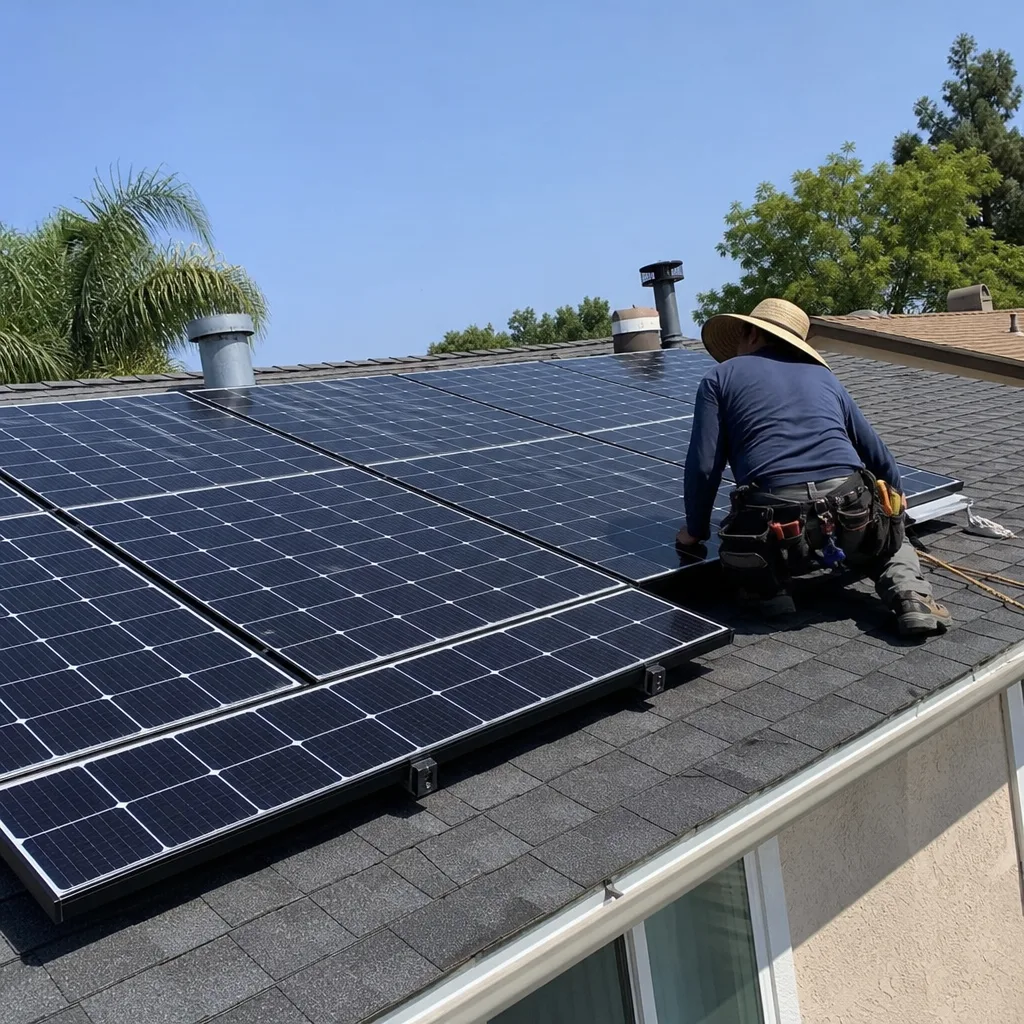 After
After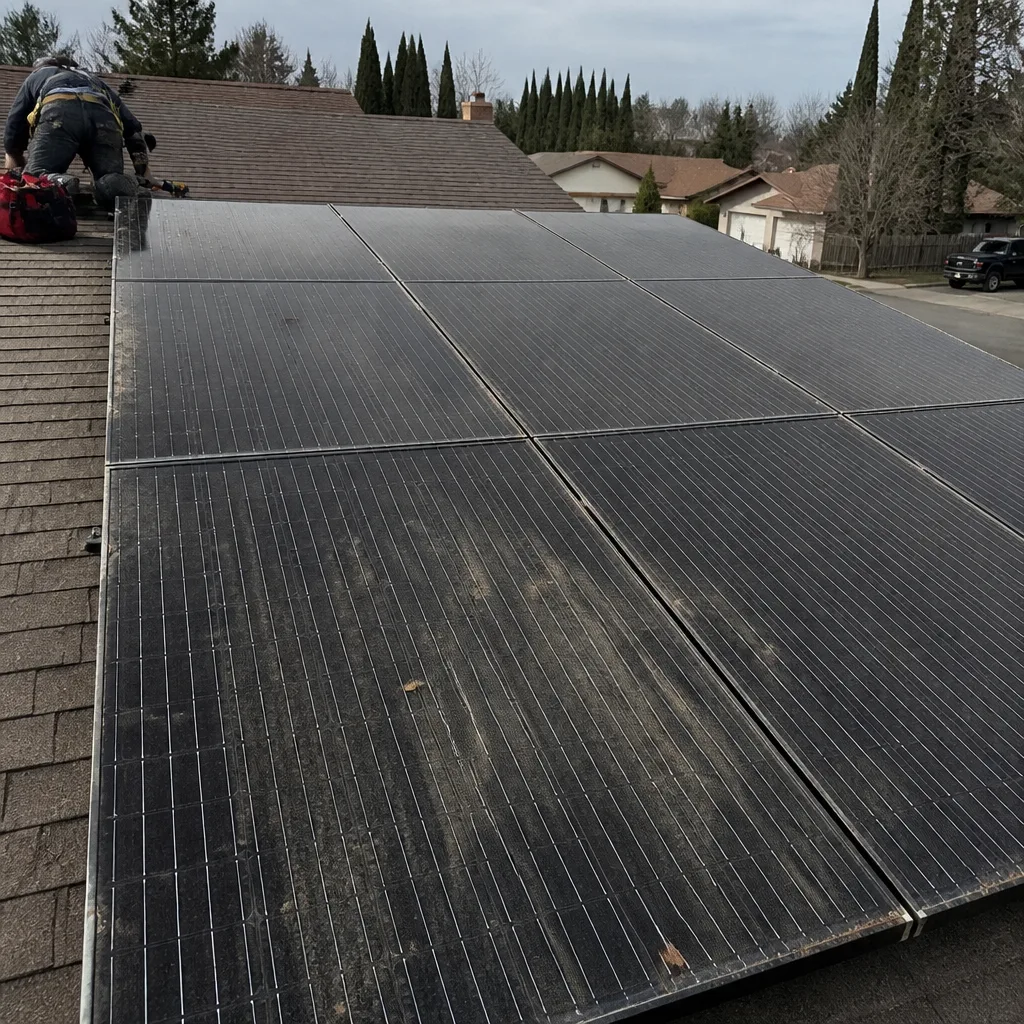 Before
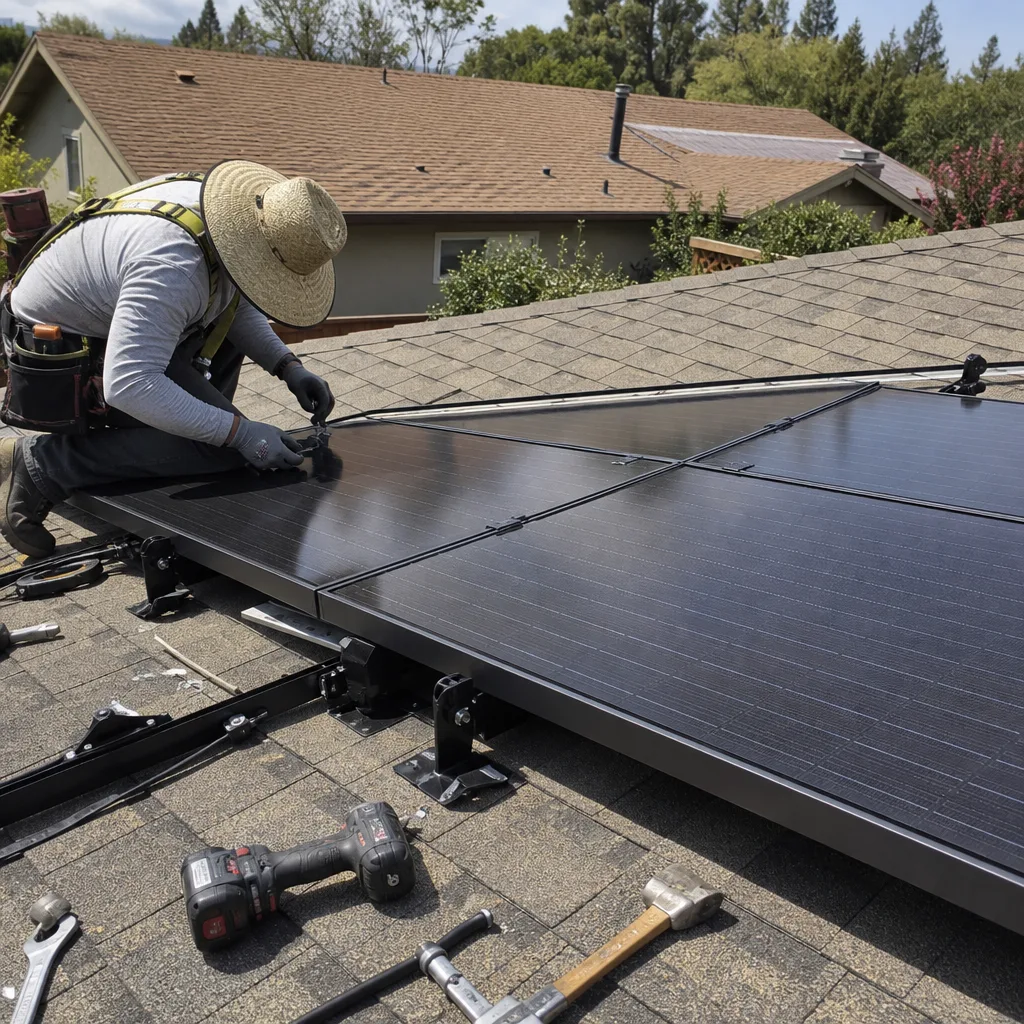 After
AfterJinkoSolar Solar Panel Installation: The San Jose Owner’s Guide
We stock and install JinkoSolar solar panel installation parts across San Jose, with typical installed pricing running $180 to $420 per panel site depending on your model, roof type, and what actually failed. Most jobs are same-day or next-day once we confirm the exact JinkoSolar series on your roof. Here’s the pattern we see: the panel still looks fine from the ground, but your monitoring app shows a string underperforming, or you hear a faint buzzing near the array, or a recent storm left you with a cracked backsheet and now you’re worried about moisture intrusion.
By the time homeowners call us, they’ve usually already checked the inverter and ruled out the usual suspects. What they don’t always know is that JinkoSolar panels have specific mounting hardware and connector types, and grabbing the wrong part off a supply shelf just trades one problem for another. We keep the common JinkoSolar-compatible parts on our trucks, so most San Jose calls end with the system running again before dinner.
Which JinkoSolar Models This Applies To
JinkoSolar has built a lot of different panel lines over the years, and they don’t all share parts. The Eagle series, Cheetah series, Tiger series, and the newer Tiger Neo line each use different form factors, connector specs, and mounting bracket geometry. If you’ve got a Tiger Neo 54-cell panel, the frame width and mounting slot placement are not the same as a Cheetah 72-cell panel from a few years back. That’s the compatibility gotcha we run into constantly in San Jose: someone buys a generic mounting kit online, only to find the clamps don’t bite the frame right, and now they’ve got a panel flapping in the wind.
The quickest way to identify what you have is to check the label on the back of a panel, usually on the underside near the frame edge. JinkoSolar prints the model number, series name, and wattage class right there. If you can’t reach the panel safely, send us a photo of your original paperwork or the array from the ground, and we can usually narrow it down. One honest note: for most JinkoSolar parts, we recommend OEM or manufacturer-spec matching rather than no-name aftermarket. The connectors and mounting hardware aren’t commodity parts. A slightly-off plastic snap or clamp torque spec is how you end up with a panel that develops micro-fractures two summers later. We’d rather spend a few extra dollars now than watch you chase a string fault for two years.
Signs Your JinkoSolar Solar Panel Installation Is Failing
- Underperforming string on your monitoring app. One array string consistently reads 5 to 15 percent below the others in good weather. This usually means a bad panel, a failing connector, or a mounting issue that’s let moisture into the junction box. In San Jose’s wet winters, this is the number one symptom we chase.
- Cracked backsheet or visible delamination. The white or black backsheet starts peeling, bubbling, or showing hairline cracks. Moisture gets in, the panel starts losing output, and left long enough, it can create a ground fault that shuts down the whole string.
- Buzzing or crackling near the array. That’s almost always a failing MC4 connector or a loose junction box connection. Electricity is arcing somewhere it shouldn’t. This one isn’t a “wait and see” symptom, and we tell San Jose homeowners plainly: you want that inspected before it becomes a fire risk.
- Burn marks or discolored spots on the panel face. A hot spot usually means a cell failure or a bypass diode issue inside the junction box. It’s not always a full panel replacement, but it will keep degrading until someone opens the junction box and figures out what’s actually dying.
- Loose or rattling panels after wind events. San Jose sits in a spot where we get real wind coming through the valley, especially in the spring. If a panel shifts, a clamp loosens, or you hear rattling from the roof, that’s a mounting hardware problem that’s only going to get worse in the next storm.
Replacement Cost & What’s Included
For most JinkoSolar solar panel installation work in San Jose, you’re looking at $180 to $420 per panel site when we’re replacing mounting hardware, connectors, junction box components, or a single panel. A full panel swap including the new JinkoSolar panel, mounting hardware, and labor typically falls in the $275 to $420 range depending on which series you have and what roof access looks like. Multi-story homes with steep pitches land at the higher end, and that’s mostly labor, not parts.
Every quote includes the parts, the labor, the trip, and cleanup, and we price it so the number we give you is the number you pay. If we find something else while we’re up there, we’ll show you photos and talk it through before we touch it. No surprises. And because Gus Petrakis puts his name on the work, every repair is covered by our 90-Day Done Right Promise: if it’s not right, we make it right, in writing.
DIY or Call Us?
I’ll be straight with you: solar panel electrical work is not a weekend project. We’re talking about DC voltage high enough to do real damage, plus roof work where one wrong step becomes a hospital trip. That’s not scare language, it’s just the reality of the trade. Gus has spent years on roofs across San Jose, and his crew still never treats a panel swap as routine. There’s a reason solar installers carry the insurance we carry.
What you can safely do yourself: check your monitoring app for string-level data, take photos of the panel labels from the ground, make sure no debris is shading the array, and note any visible cracking from a safe distance. Everything past that needs someone who knows JinkoSolar hardware and has the right tools to test under load. If you’re anywhere near San Jose and suspect a panel or mounting issue, call (877) 550-6892 and we’ll send someone who knows what they’re looking at. Here’s what I’d do if it were my roof: I’d call before the next storm, not after it.
FAQs
JinkoSolar panels carry a 25-year performance warranty, but in San Jose’s actual climate, we see panels deliver solid output for 20 to 30 years. The parts around the panel, things like connectors, junction box components, and mounting hardware, often need attention long before the panel itself dies.
Sometimes. If the issue is a bad connector, a bypass diode, or a junction box problem, we can often repair it on-site without swapping the whole panel. If the panel has cracked cells, severe backsheet delamination, or hot spots, replacement is usually the smarter money. Call (877) 550-6892 and we’ll tell you which one you’re looking at.
Most single-panel replacements or mounting hardware repairs take one to three hours once we’re on site. If we need to order a specific JinkoSolar series match, add a few days for the part to arrive. We’ll tell you the timeline before we start.
We stock common JinkoSolar-compatible parts on the truck, including MC4 connectors, mounting clamps, junction box components, and common hardware for Eagle, Cheetah, and Tiger series panels. For less common or newer Tiger Neo-specific parts, we may need to order, but we’ll confirm before you commit to anything. Call (877) 550-6892 and we’ll check what’s on hand.
Written by Gus Petrakis, Owner, Gus’s Solar at Gus’s Solar, serving San Jose and nearby areas.