
Free bill analysis - bring a power bill, get the production math for your actual roof, panel brands like Qcells and REC compared side by side
If the pitch starts at your door and ends with "sign tonight for the special," sleep on it. The sun will still be there tomorrow; so will we.
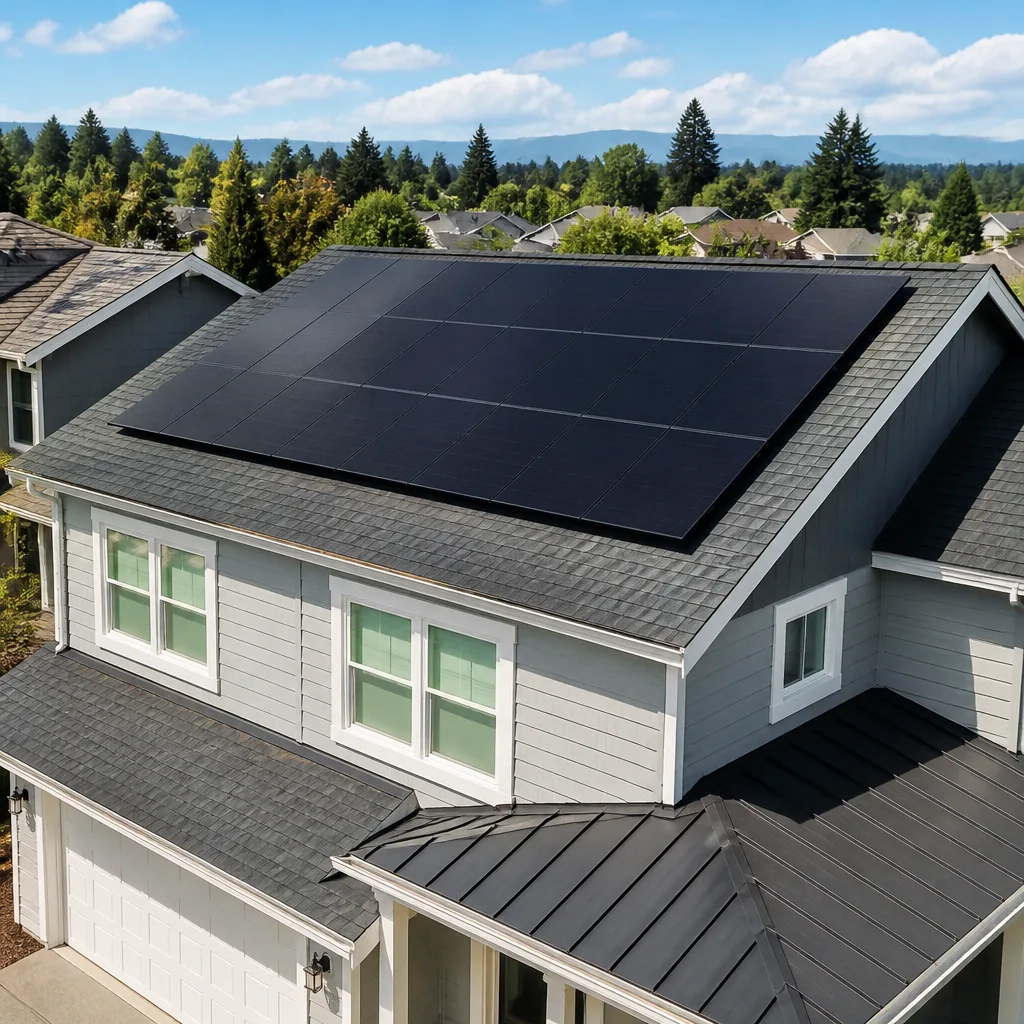
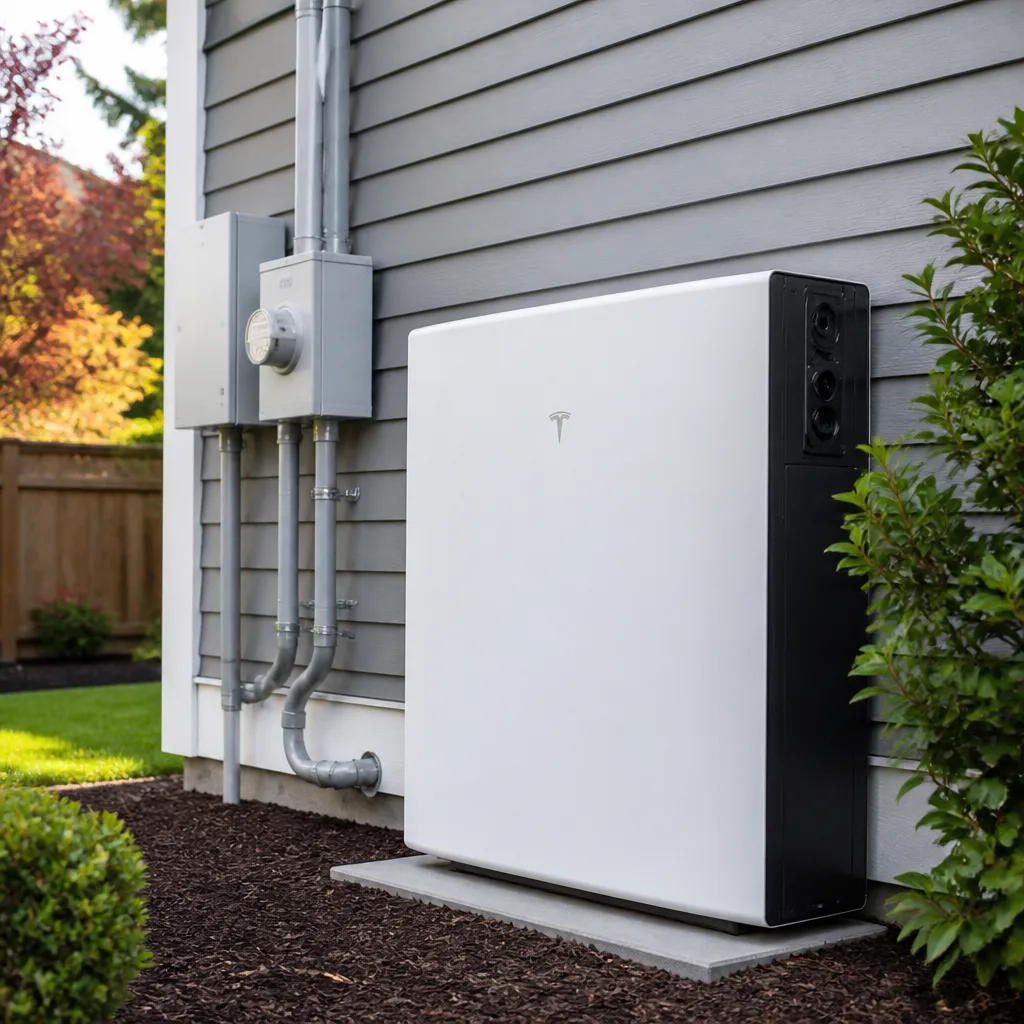
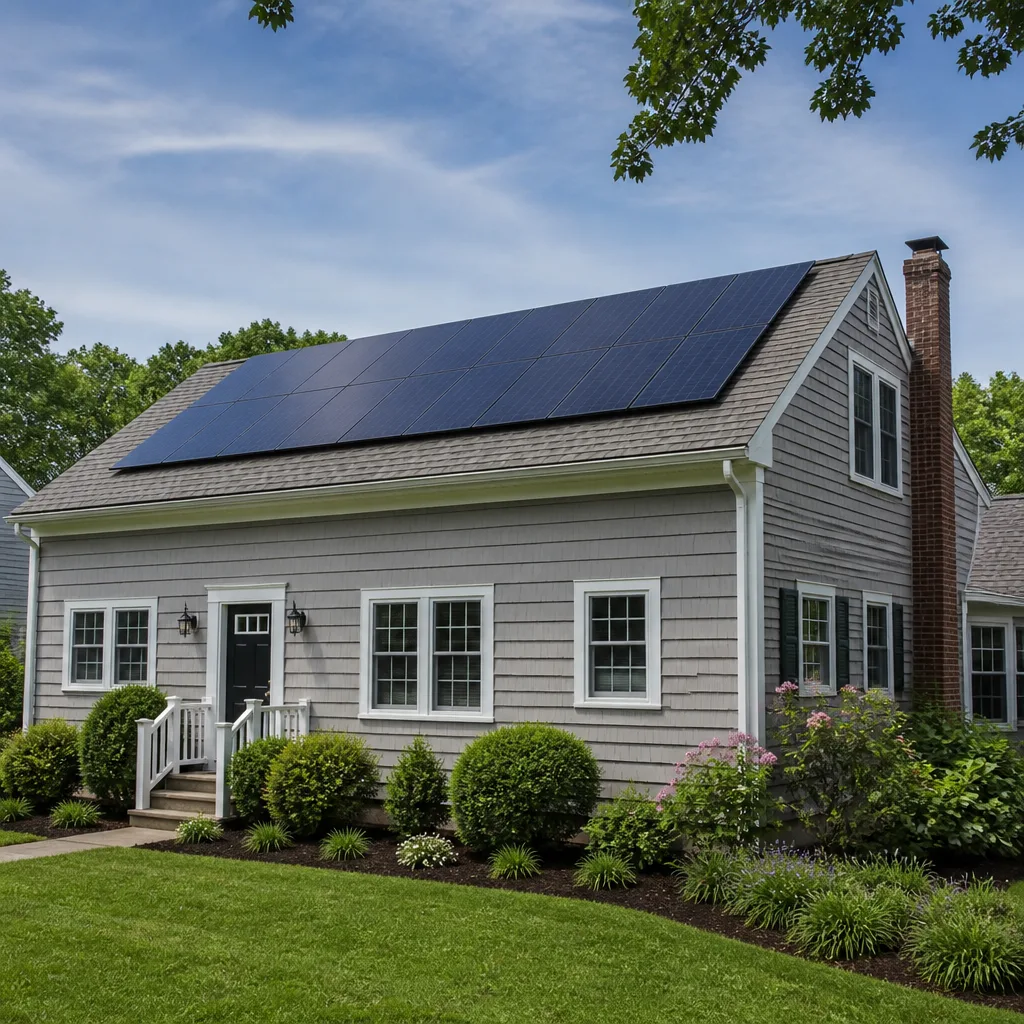
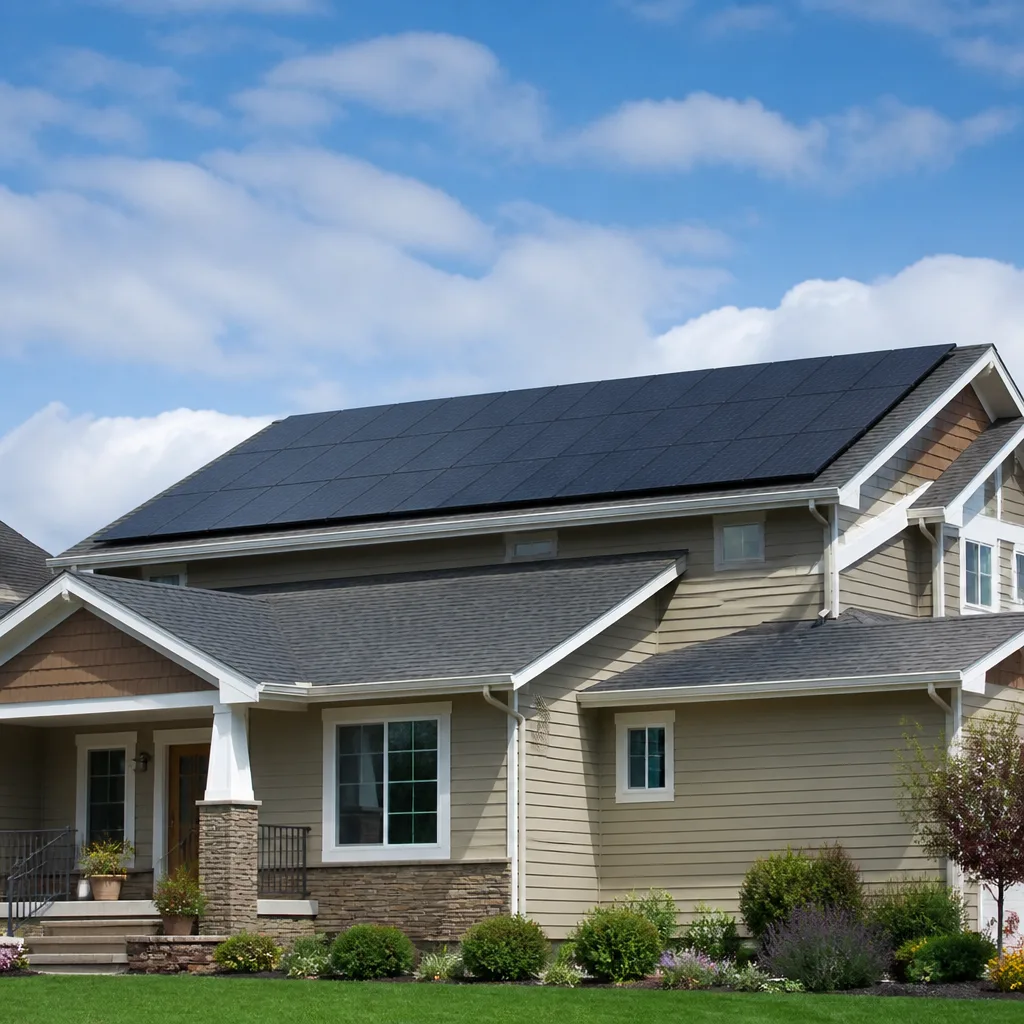
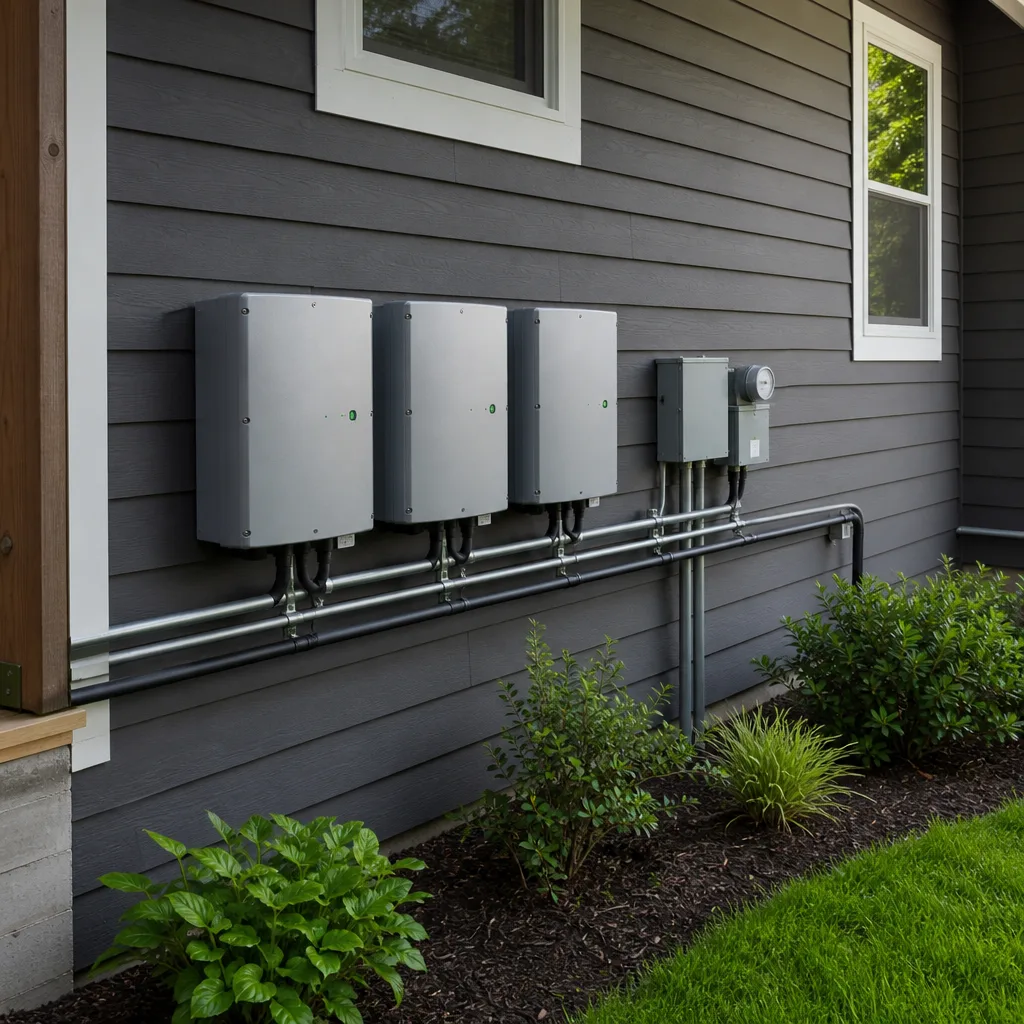
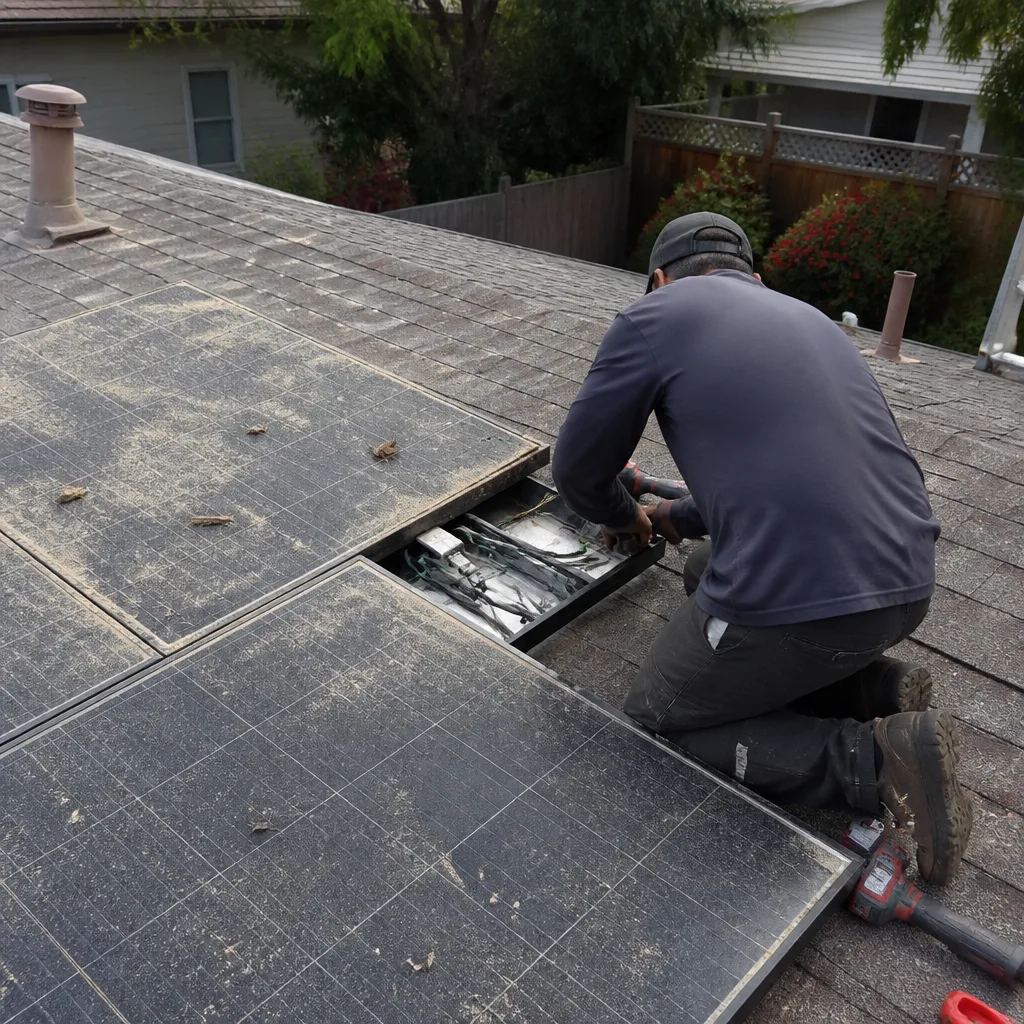 Before
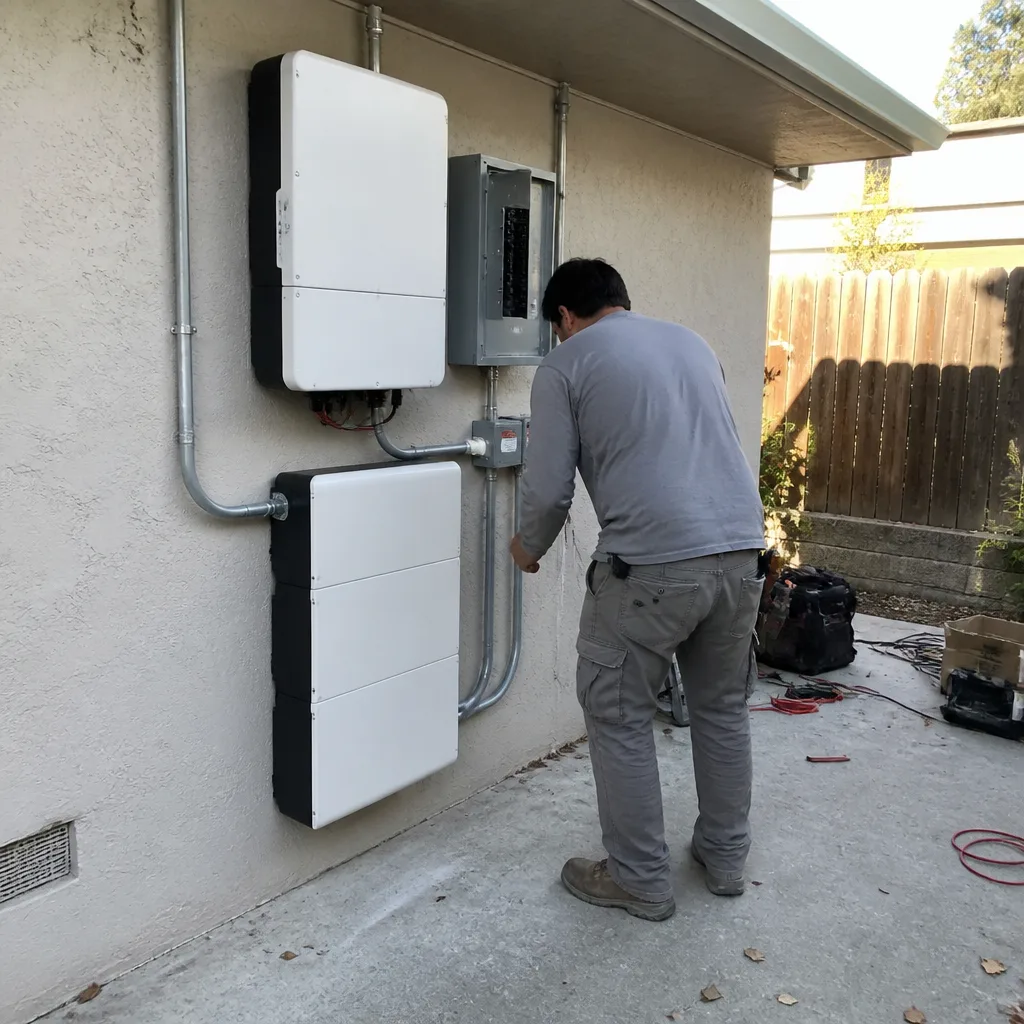 After
After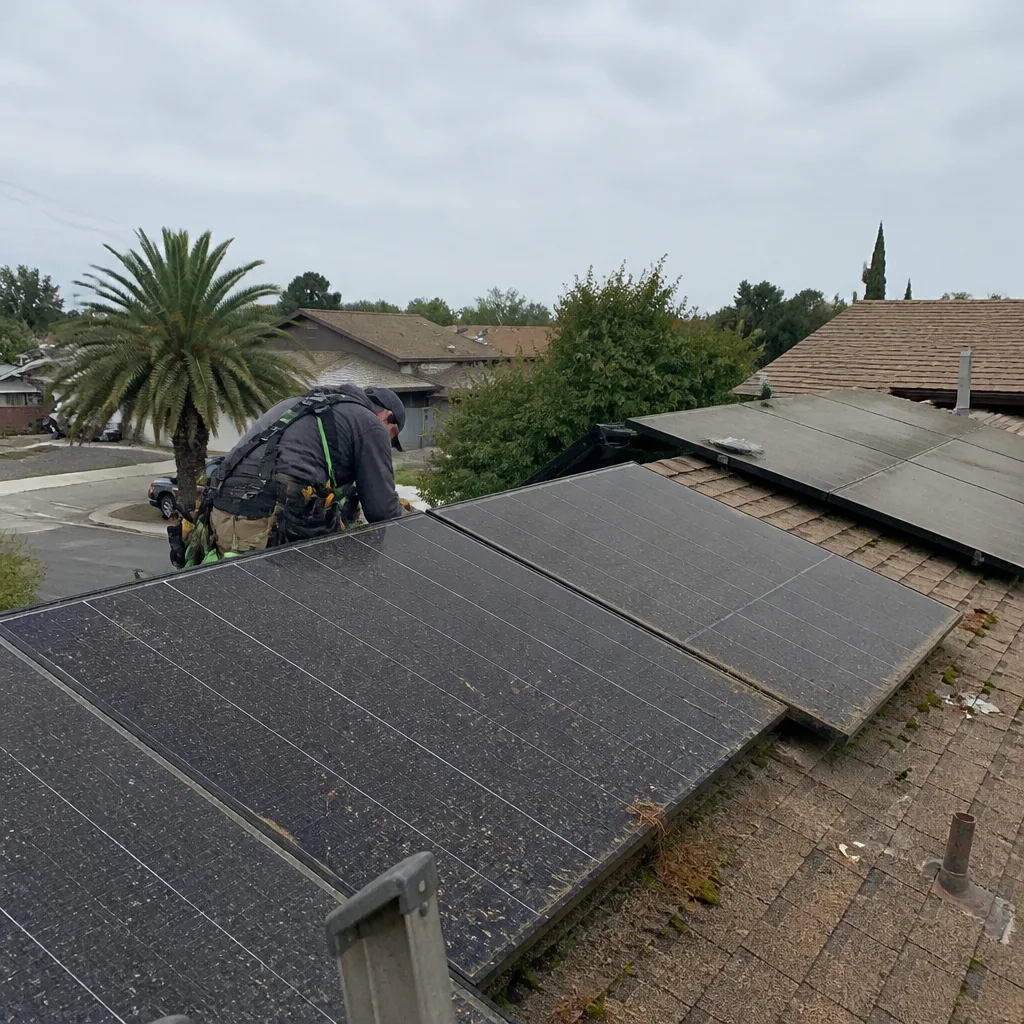 Before
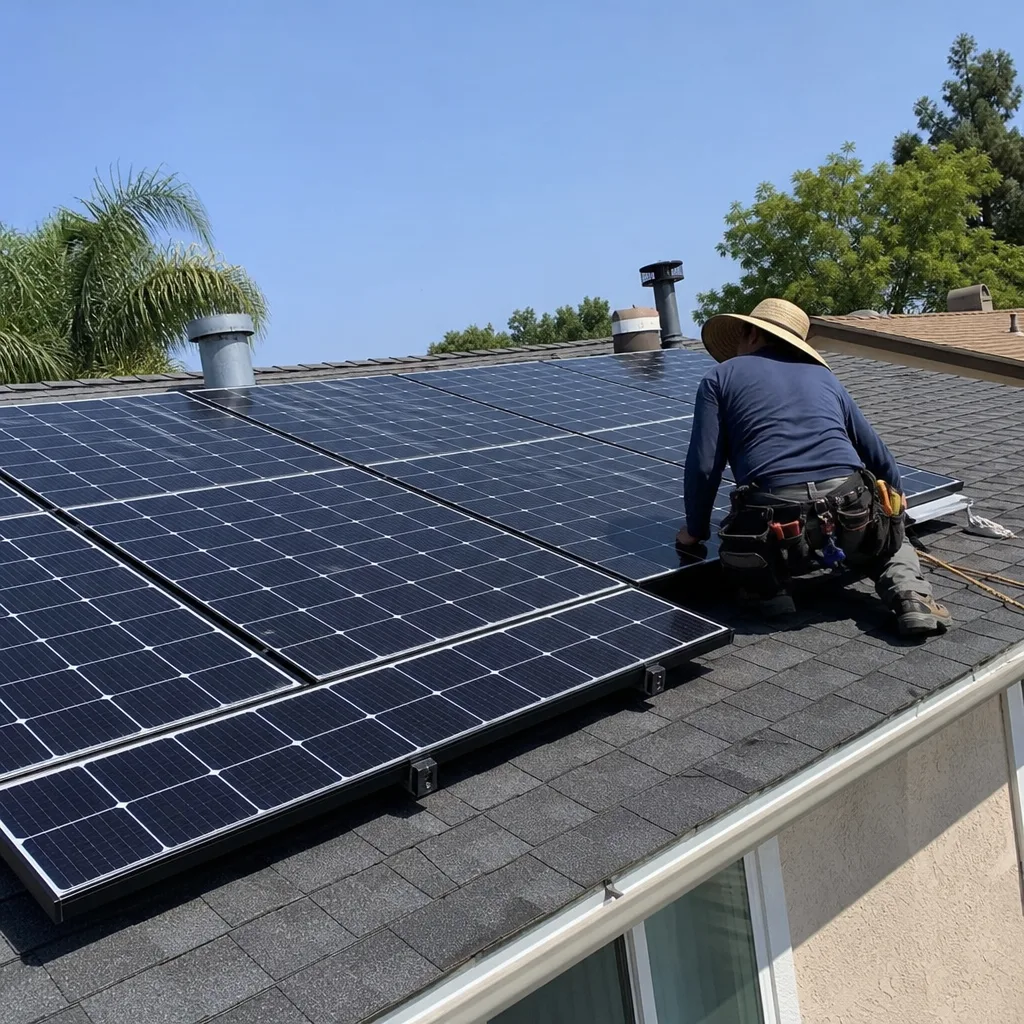 After
After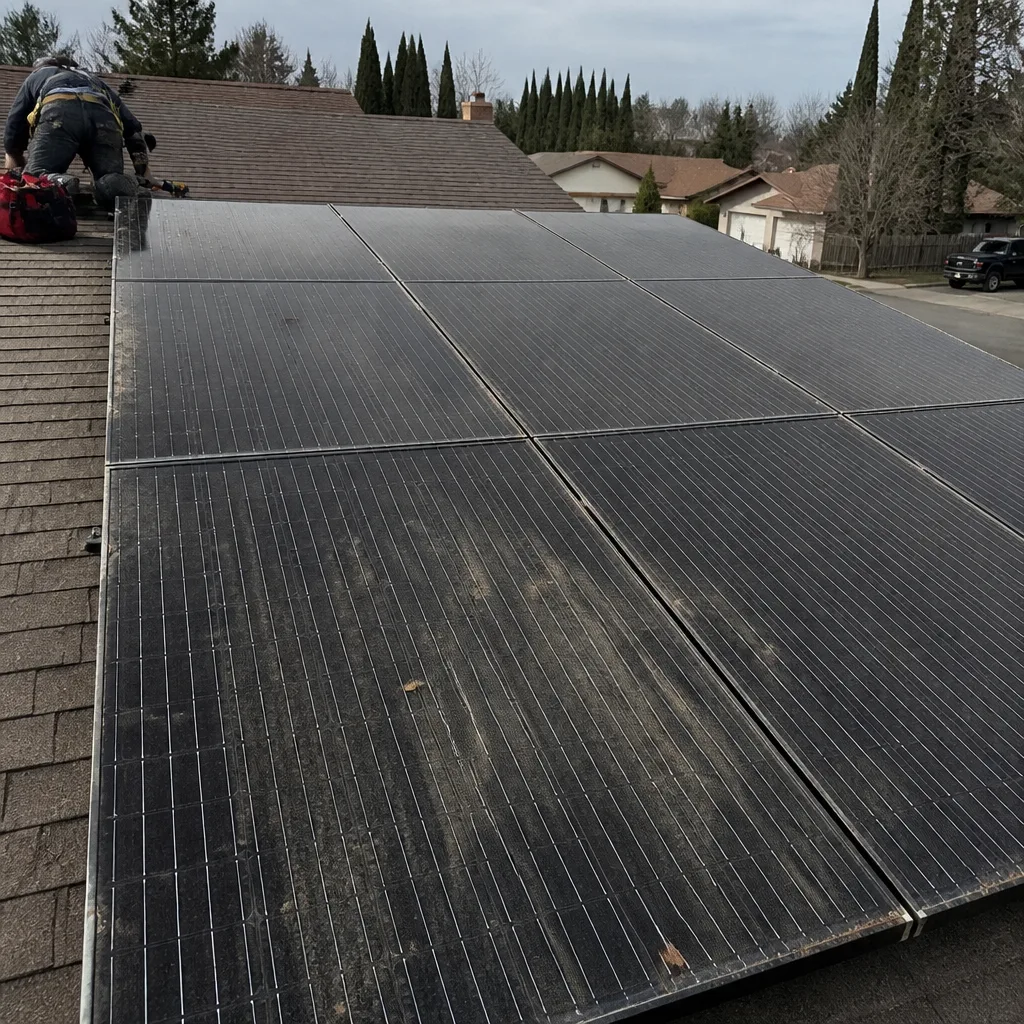 Before
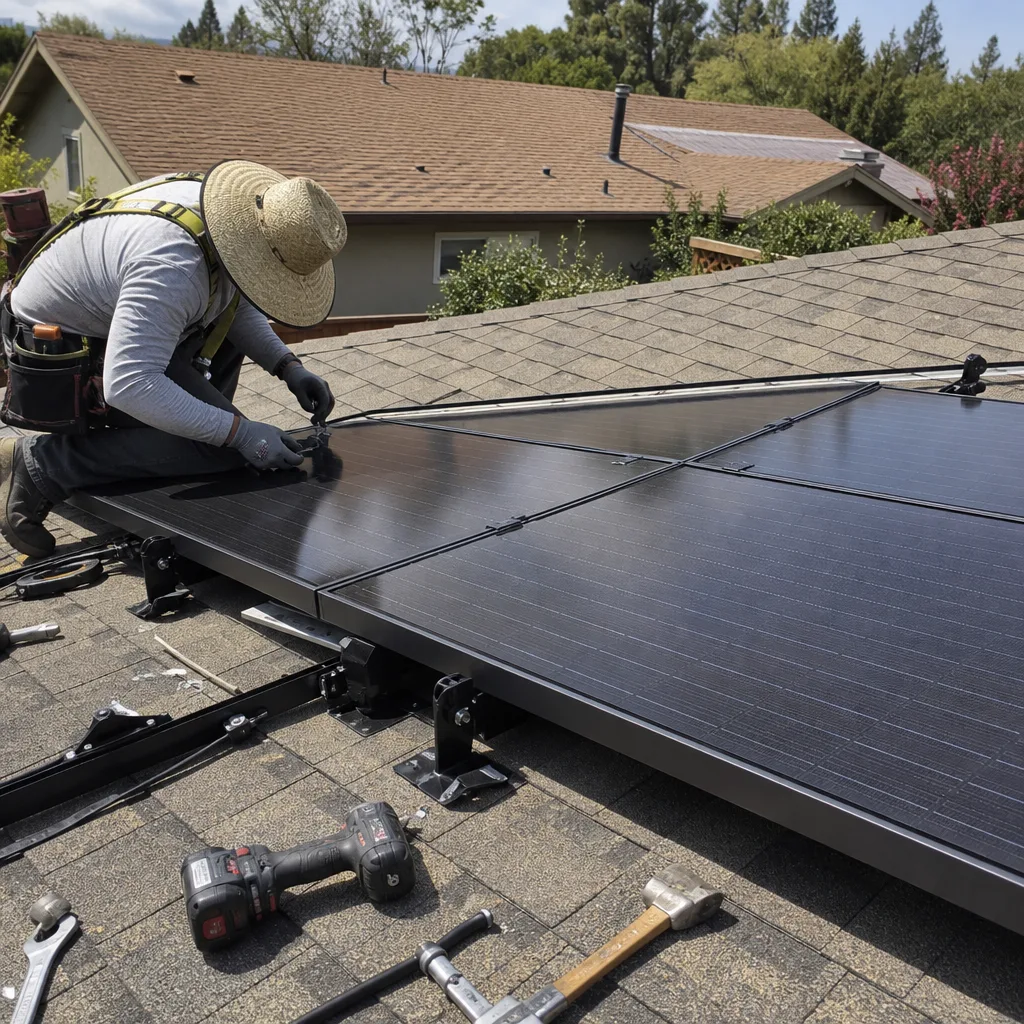 After
AfterCanadian Solar Solar Panel Installation: The San Jose Owner’s Guide
If you have a Canadian Solar panel that’s cracked, underperforming, or throwing an arc fault, we stock compatible replacements and install them across San Jose, typically for $220 to $480 per panel parts and labor. Most Canadian Solar panel swaps take under two hours on-site, and we can usually be out within 48 hours of your call. The way most owners find us: their monitoring app suddenly shows one panel producing at 40% of its neighbors, or they spot a shattered cell after a storm, or the inverter starts logging fault codes that point to one specific panel on the string.
We’re an independent shop, by the way. Not affiliated with Canadian Solar, but we’ve installed and serviced their panels across the South Bay for well over a decade, from HiKu to KuPower to the newer TOPBiHiKu lines.
Which Canadian Solar Models This Applies To
Canadian Solar has shipped a lot of different panel series through San Jose roofs over the years, and the model number matters more than people expect. If your panel is from the last eight years, you’ll likely see one of these on the label: HiKu (CS3W, CS3U), HiDM (CS1H), KuPower (CS3K), BiHiKu (CS3W-MB), or the newer TOPBiHiKu (CS6R, CS7N). The label is on the backside of the panel, visible from the attic side if you have a composition shingle roof, or readable from underneath with a mirror on tile. What actually matters for replacement is the wattage class, the cell count (typically 60-cell for residential, 72-cell for larger arrays), and the physical dimensions, because a 400W HiKu is not the same size as a 400W TOPBiHiKu. Racking fits specific panel frames, so getting the dimensions right matters as much as the wattage.
On the OEM versus aftermarket question: Canadian Solar’s own replacement panels are generally the cleanest path if your array is still under its 25-year output warranty, because mixing a different panel into a string can complicate a future warranty claim. But we’ve also used quality aftermarket panels from other top-tier brands when the original model is discontinued or backordered, and with a properly matched wattage and voltage class, the system runs fine. Here’s what I’d do if it were my roof: if the panel is under warranty, source the Canadian Solar match. If it’s past warranty, a matched-spec panel from a reputable brand saves real money without hurting output. We’ll tell you which one your situation actually calls for.
One San Jose-specific note: panels on your roof are five to ten degrees warmer than panels in a ground mount, and heat degrades panel output slowly and steadily. A panel replaced at year eight will almost always out-produce the originals around it, because it hasn’t spent eight years baking in South Bay heat. That’s normal, and it’s not a sign the installer did anything wrong.
Signs Your Canadian Solar Solar Panel Installation Is Failing
- One panel reads dramatically lower than its neighbors in your monitoring portal. When a single panel drops 30% or more versus the rest of the string, that usually means cracked cells, delamination, or a failed bypass diode inside the junction box. It’s not an inverter problem if the rest of the array is humming.
- Visible browning, snail trails, or a shattered cell pattern on the glass. Snail trails are those thin dark squiggles that appear near micro-cracks, and they mean moisture is working its way into the cell layer. In San Jose’s dry-summer, wet-winter cycle, thermal expansion slowly worsens those cracks with each passing season.
- Your inverter logs repeated arc-fault or ground-fault errors on one circuit. Canadian Solar panels occasionally develop junction box failures, and when a diode goes, the inverter sees an arc signature and shuts the string down. That’s a safety shutdown, and it’s doing exactly what it’s supposed to.
- Physical damage you can see from the ground: cracked glass, lifted laminate edges, a panel sitting at an odd angle. San Jose gets real wind in the fall, and a lifting panel edge catches that wind like a sail. The longer it flaps, the more the racking and the panel frame both wear.
- Your production has dropped noticeably across the whole array, not just one panel. This is less common, but when every panel underperforms, you might have a batch issue, a wiring/connection problem at the combiner, or a string-level failure. We’d test the whole array rather than guess.
Replacement Cost & What’s Included
For a standard residential Canadian Solar panel in San Jose, you’re looking at roughly $220 to $480 installed, depending on the panel wattage and whether we’re doing a like-for-like swap or an upgraded panel. That includes the panel itself, the rooftop labor, any new MC4 connectors or rail hardware, and removal and haul-off of the failed panel. If your system uses microinverters, expect another $150 to $250 if we’re replacing the microinverter along with the panel. A typical like-for-like single-panel swap in San Jose runs around $300 to $380 all in.
What drives the range: panel wattage and availability, roof pitch and access, single-story versus two-story, and whether your racking needs adjustment to fit the replacement panel’s frame. We quote the price before we touch anything, and the price quoted is the price charged. Every panel swap is covered under our 90-Day Done Right Promise: if it’s not done right, we make it right, in writing.
DIY or Call Us?
Honest answer: you can safely check a few things yourself. Read the label on the back of the failed panel, note the model and wattage, and take photos of any visible damage. You can also look at your monitoring portal and screenshot the per-panel production data. That information alone will save us a trip and gets you a faster, more accurate quote over the phone.
What you should not do is get on the roof and start disconnecting MC4 connectors. A string of panels carries up to 600 volts DC in residential systems, and that voltage does not give you a second chance. Roof work on a San Jose tile or comp roof also changes with morning dew, and a slipped tile is a $400 mistake. Let us handle the panel. What we’d ask is that you call (877) 550-6892 and describe what you’re seeing. We’ll give you a straight answer on whether it’s a single panel swap or something bigger. If it’s a single panel, we’ll have it on the truck when we come out.
FAQs
Canadian Solar panels are rated for 25 years of production, and in San Jose’s climate, most panels still produce at 80% to 85% of their original output at year 25. The panels that fail early almost always fail from physical damage (a falling branch, a roof repair gone wrong, a bad storm) or a junction box defect, not from normal aging. If your panel is under 10 years old and underperforming, it’s worth checking whether the warranty covers it before paying for a replacement.
In most cases, no. Cracked cells and delamination cannot be fixed in the field, and a panel with a failed bypass diode or junction box issue is usually replaced under warranty or swapped out entirely. What can be repaired is the surrounding system: loose MC4 connectors, corroded wiring, or a failed microinverter. We’ll tell you which one you have before we sell you a panel.
Most single-panel replacements take 90 minutes to two hours, including testing the string and confirming output after the swap. If we need to adjust racking for a different frame size or run new wiring, allow another hour. We’ll give you a window when you book, and the crew who shows up is Gus’s own crew, background-checked and uniformed.
We keep the most common residential Canadian Solar models in stock, and when a specific model is discontinued or backordered, we source a matched-spec panel from another top-tier brand. Call (877) 550-6892 with your panel’s model number and we’ll tell you what’s available and what it costs before you commit to anything.
Written by Gus Petrakis, Owner, Gus’s Solar at Gus’s Solar, serving San Jose and nearby areas.