
Free bill analysis - bring a power bill, get the production math for your actual roof, panel brands like Qcells and REC compared side by side
If the pitch starts at your door and ends with "sign tonight for the special," sleep on it. The sun will still be there tomorrow; so will we.
 Before
 After
After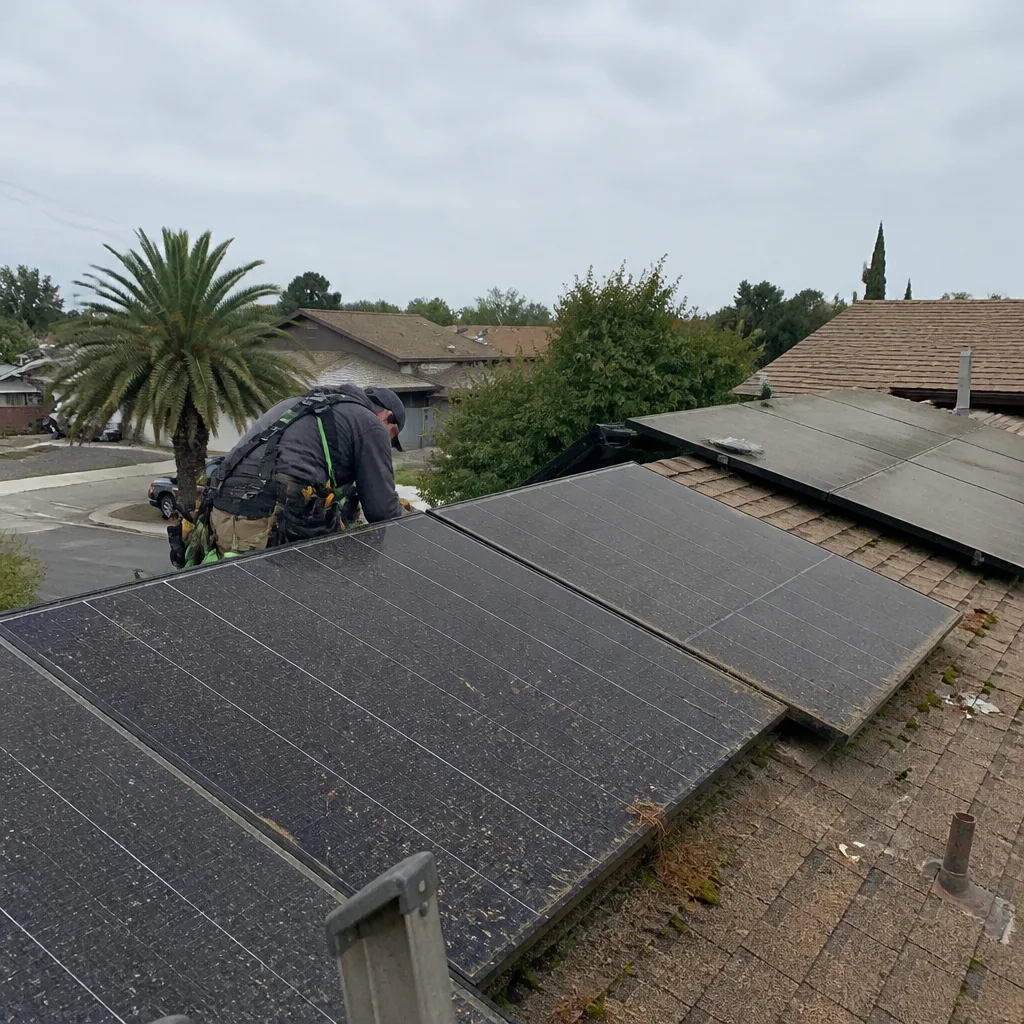 Before
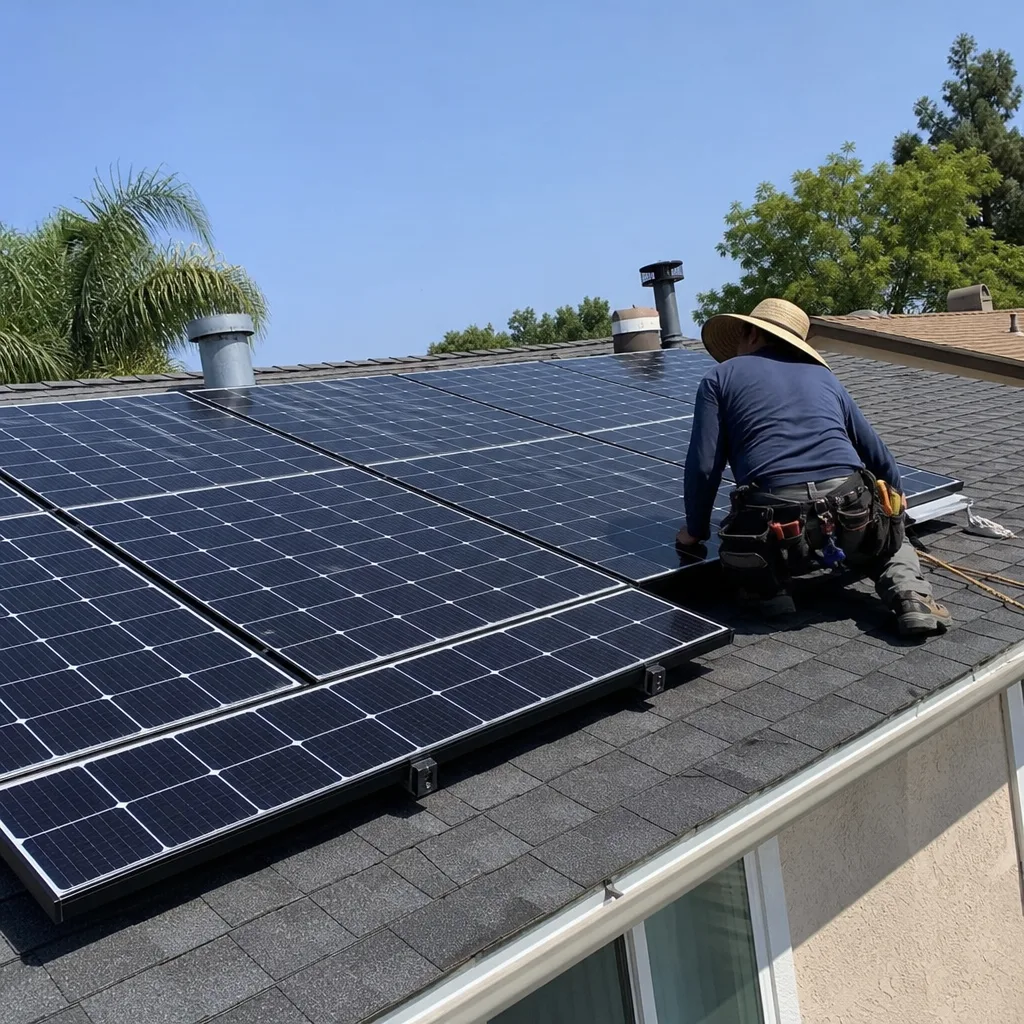 After
After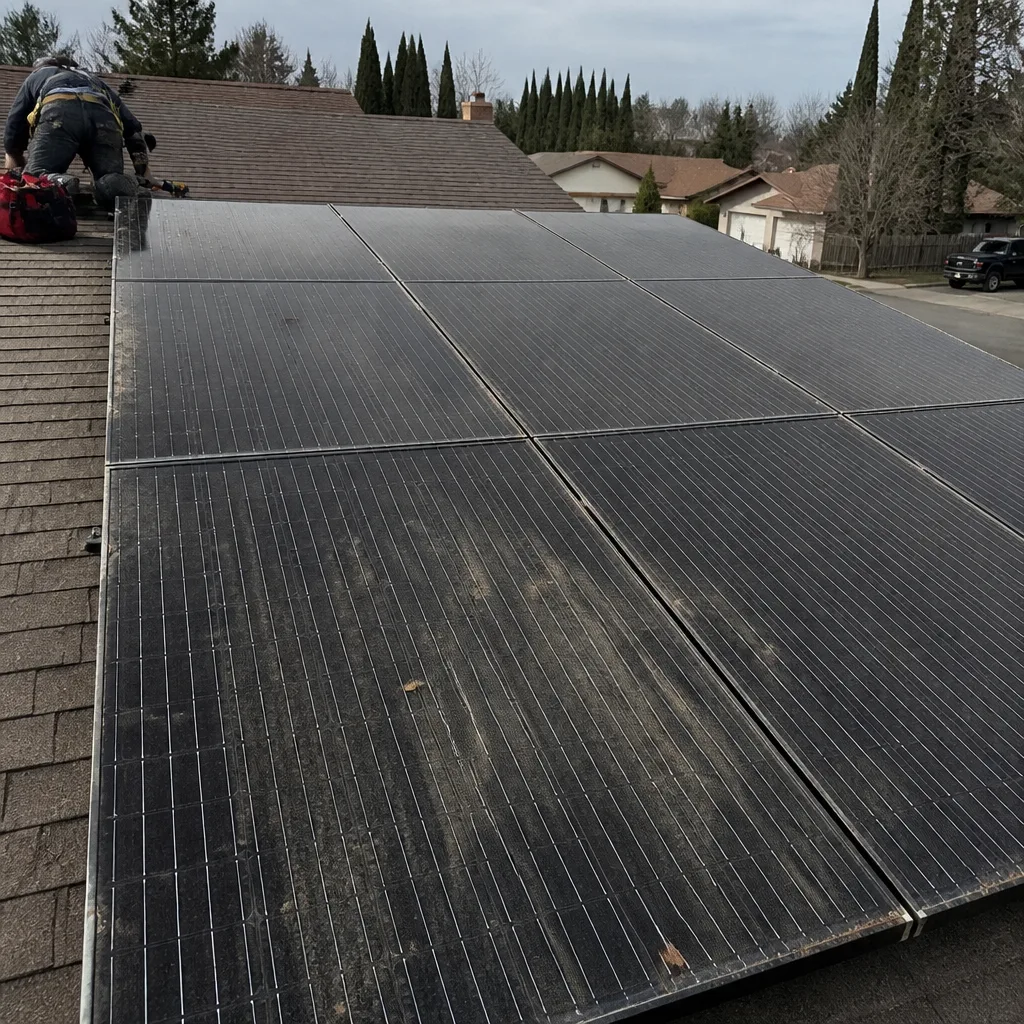 Before
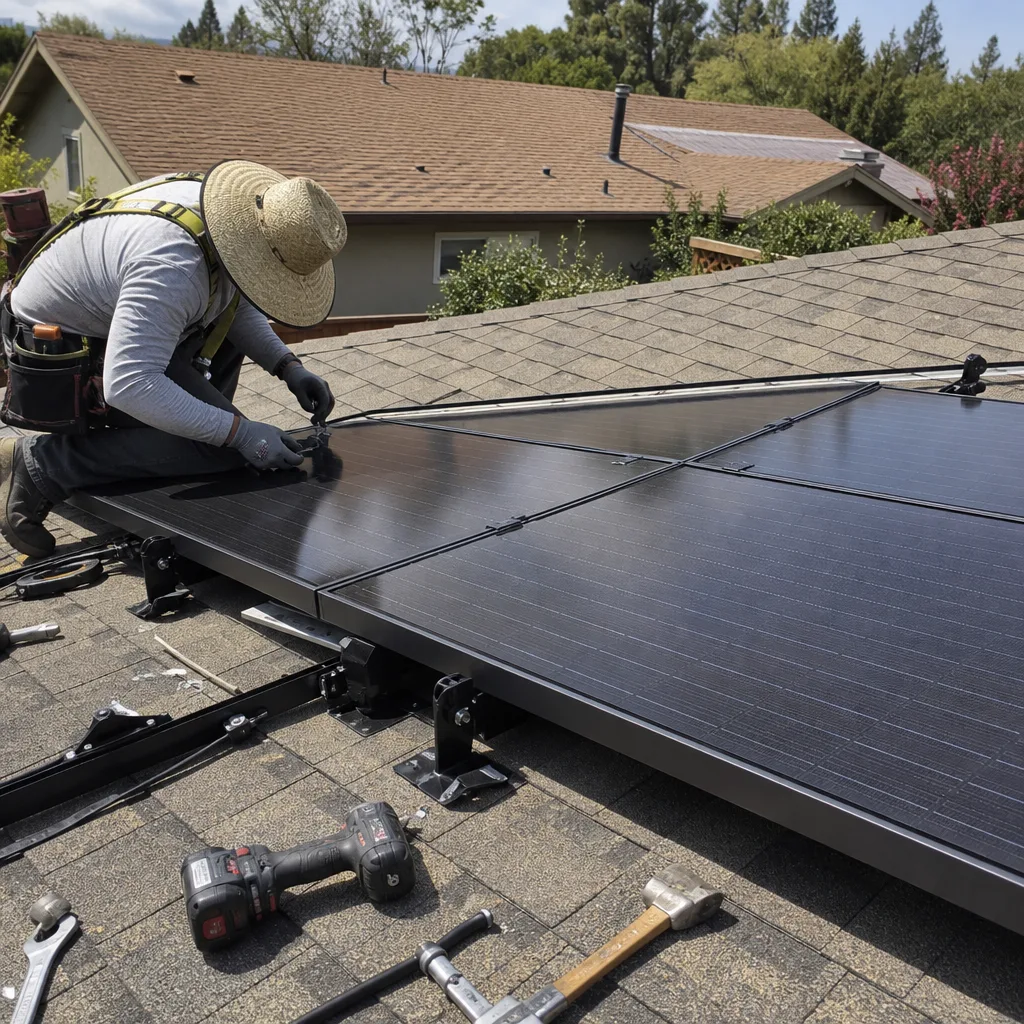 After
AfterJinkoSolar EV Charger Installation: The San Jose Owner’s Guide
If you’ve got a JinkoSolar system and your EV charger quit, we can usually get a replacement installed in San Jose the same week, sometimes the same day if it’s a straightforward swap. Typical installed pricing for a JinkoSolar-compatible EV charger runs $600 to $1,400 depending on the charger model, your panel situation, and how far the run is from your electrical service. Most San Jose owners discover the problem the same way: they plug in at night, walk out in the morning, and the car never charged.
Here’s the part nobody warns you about. JinkoSolar panels and inverters are solid, widely installed across the South Bay, but the EV charger side is a different animal. A lot of homeowners assume the charger is a JinkoSolar product. It isn’t always. What you often have is a third-party charger wired into a JinkoSolar-powered home, and the charger itself gets blamed when the problem is actually earlier in the line. We sort that out before anyone buys a part.
Before we get into models, pricing, and what fails first, here’s the quick takeaways if you want to skip the details.
- We stock common JinkoSolar-compatible chargers and can order exact-match units in 2 to 3 days from local South Bay distributors.
- Installed cost in San Jose runs $600 to $1,400. The charger itself is $350 to $700; labor and permitting make up the rest.
- Same-week service is typical. Same-day happens when it’s a simple charger replacement and your panel has room.
- If your panels are fine but the charger is dead, the fix is almost always the charger itself or the breaker feeding it, not the JinkoSolar array.
- Gus has been doing this in San Jose since before EV chargers were common. We’ve seen every failure mode there is, and we don’t upsell what you don’t need.
One more thing up front. Gus’s Solar is an independent, locally owned shop. We are not affiliated with JinkoSolar, and JinkoSolar doesn’t make the charger we usually install. We work with their panels and inverters daily, but when it comes to EV charging, we match your home’s existing setup to a charger that plays well with it. That honest distinction saves our San Jose customers a lot of wasted money.
Which JinkoSolar Models This Applies To
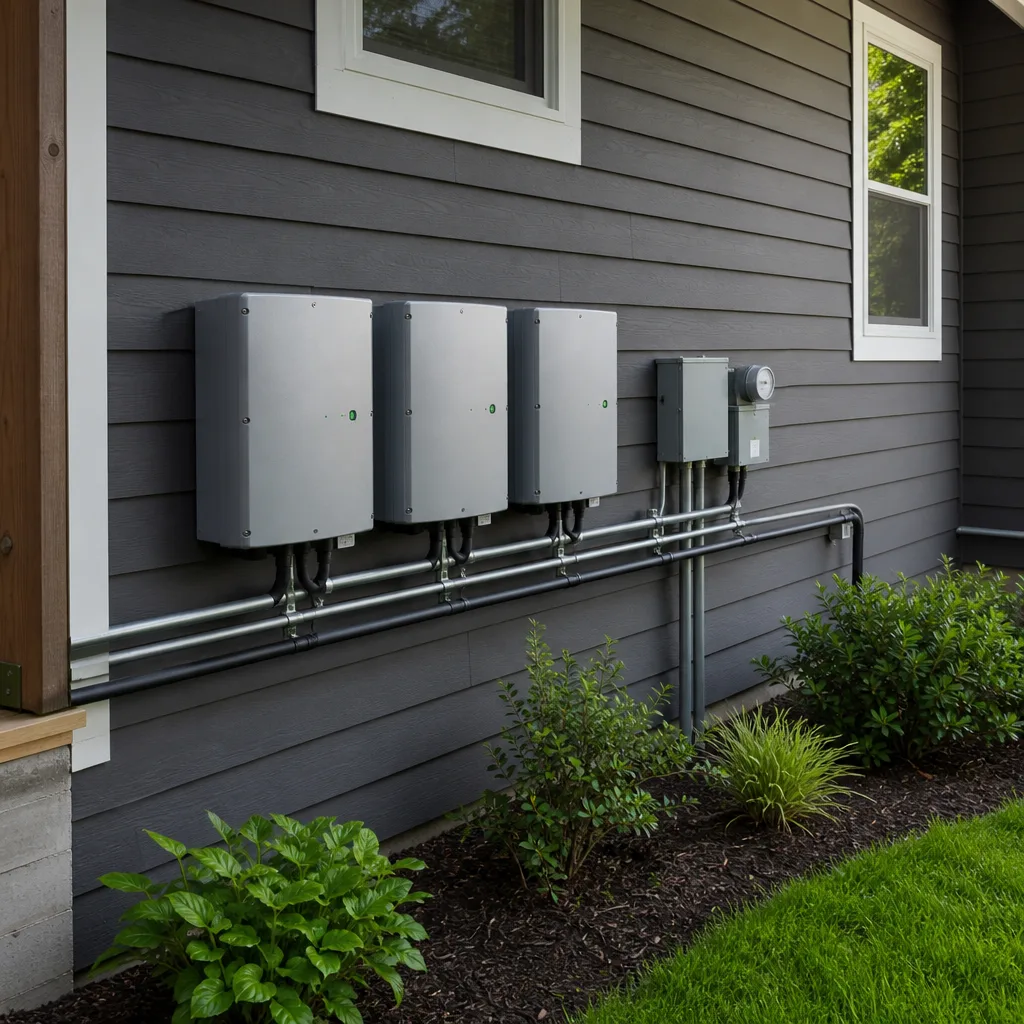
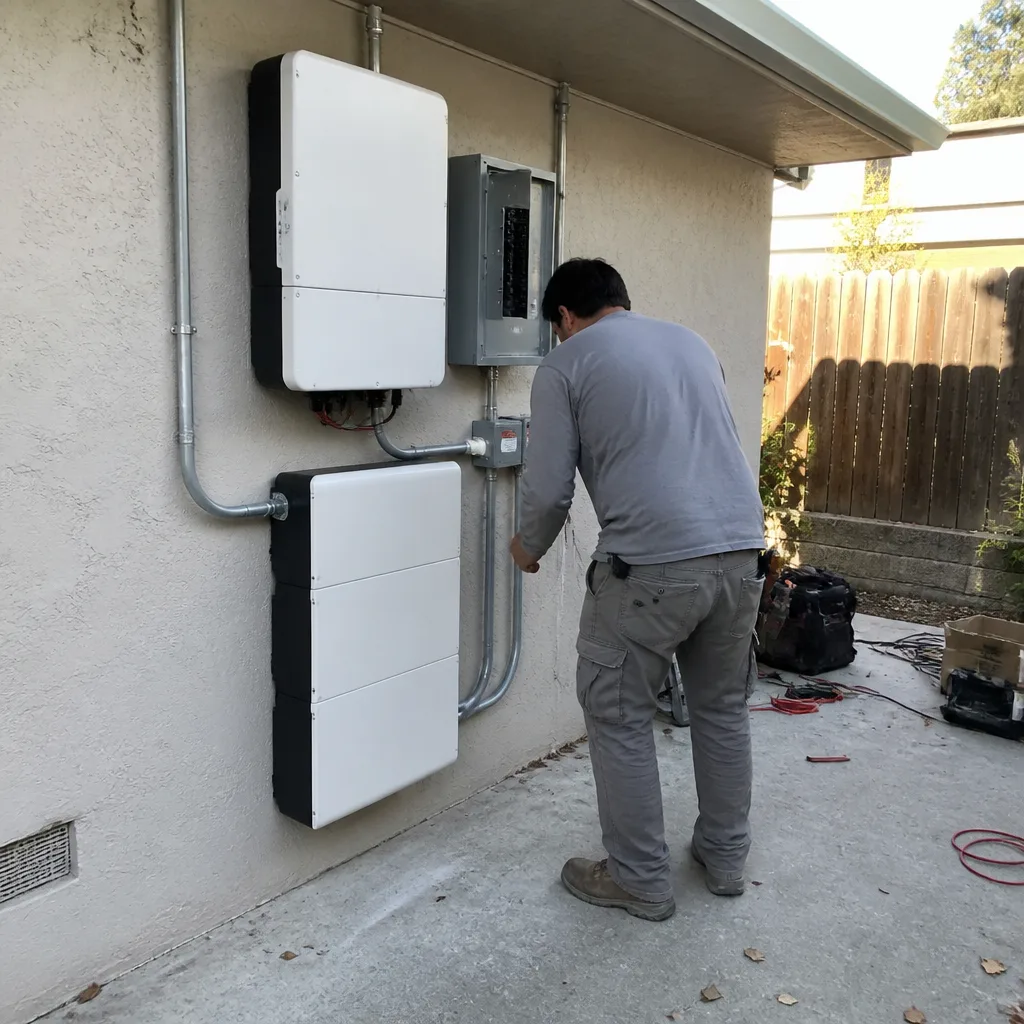
Let’s get specific. If your San Jose home runs JinkoSolar panels, the charger problem typically falls into one of two buckets. Either you have a JinkoSolar inverter feeding a separate Level 2 charger, or you have a JinkoSolar battery system (like the JKS series) that integrates with an EV charger through your home’s electrical panel. The charger itself, in nearly every case we see, is a brand like ChargePoint, Wallbox, Enphase, Tesla, or Emporia, not JinkoSolar.
That matters because the fix isn’t about matching a “JinkoSolar charger” part number. It’s about matching the charger to your panel’s available amperage, your inverter’s output capacity, and the wiring already in place. Here’s the compatibility gotcha we run into constantly in older San Jose homes: a 100-amp main panel with a 40-amp charger circuit, solar backfeeding, and an EV pulling 32 amps at night can trip breakers even when every individual component tests fine. The charger isn’t broken. The load calculation was never done right.
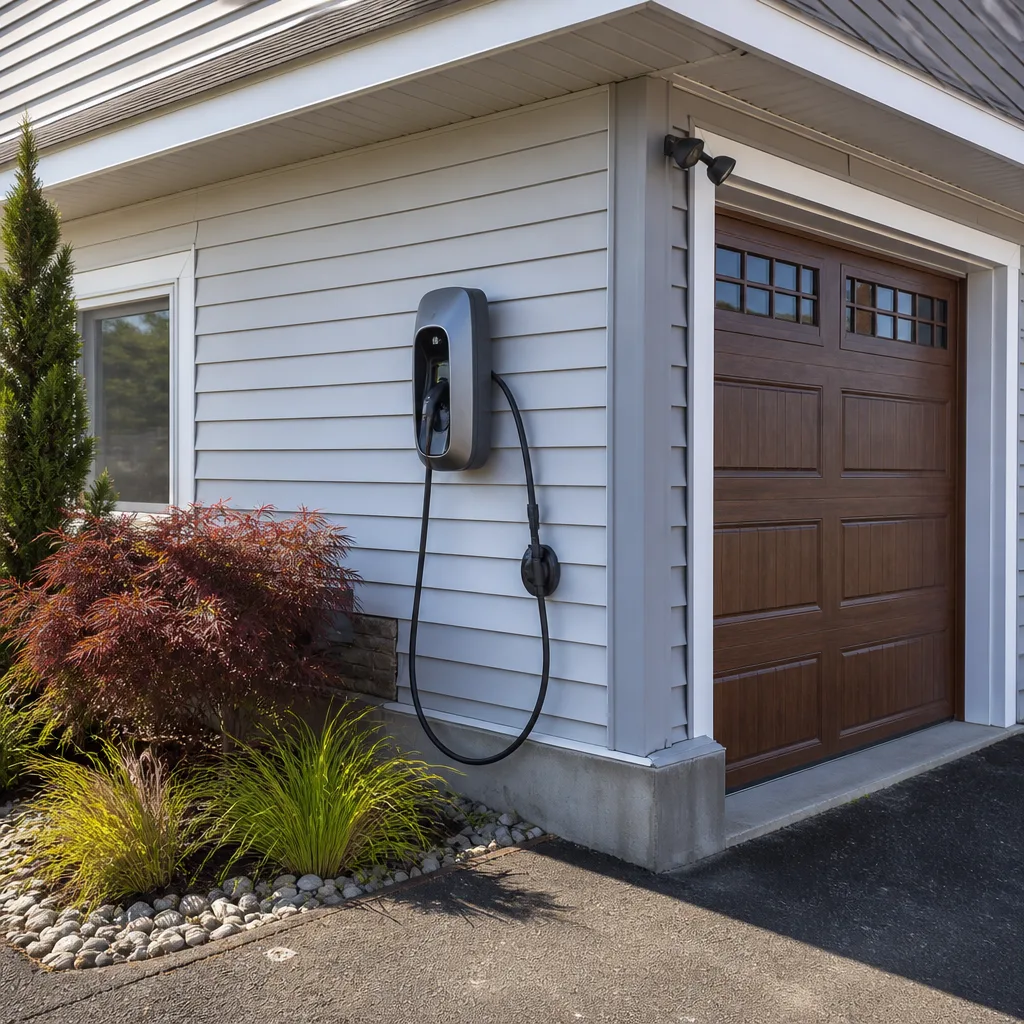
If you’re replacing a charger that was originally installed with your JinkoSolar system, look at the side of the unit. The label tells you the brand, model, and amperage rating. Take a photo of it before you call us. It saves a trip. We’ll ask for that label, plus a photo of your main panel with the door open so we can see the breaker layout. That alone often tells us whether this is a one-hour swap or a panel upgrade discussion.
OEM versus aftermarket: for EV chargers, “OEM” mostly means buying the same brand that’s already on your wall. If your home runs an Enphase system with a JinkoSolar array, we’ll usually recommend staying with Enphase or going to a standalone charger like a Wallbox or ChargePoint that doesn’t care what inverter you have. Aftermarket in this space isn’t really a thing the way it is with car parts. The charger either carries a UL listing and a real warranty, or it doesn’t. We only install the first kind.
Signs Your JinkoSolar EV Charger Installation Is Failing
Chargers rarely die all at once. They usually give you two or three weeks of warning signs first, and most people miss them because they’re plugging in late and unplugging early. Here’s what we hear about most on service calls around San Jose.
- The charge starts, then stops after 20 to 40 minutes. This is almost always heat-related. The contacts in the plug or the internal relay warm up, resistance climbs, and the charger trips itself off as a safety measure. It’ll work again once it cools, which fools people into thinking the problem went away. It didn’t.
- The charger clicks repeatedly but never delivers power. That clicking is the relay trying to close and failing. Could be a worn contactor, could be a loose wire inside the unit, could be a failing GFCI sensor. All three are repairable if caught early, but every repeated click is shaving life off the internal components.
- The cable or plug feels hot to the touch after charging. Warm is normal. Hot enough to notice is not. This often traces back to a loose connection at the charger terminal or a worn plug that’s arcing microscopically. Left alone, it burns out the connector and sometimes the charge port on the car itself. That’s a much more expensive fix.
- Your JinkoSolar monitoring shows normal production, but the car still doesn’t charge. This is the one that confuses people. The panels are fine. The inverter’s fine. The power’s coming into the house. The problem is somewhere between your breaker box and the charger. It could be a tripped breaker that won’t reset, a burnt bus bar connection, or a charger that’s internally shorted.
- The display or app shows an error code you’ve never seen before. Write it down. Better yet, screenshot it. Different codes mean different things depending on brand, and we can usually tell you over the phone whether it’s safe to keep using the charger while we schedule the visit.
If any of these sound familiar, shut the breaker off to the charger and give us a call. Not because the house is going to burn down, but because every failed charge cycle is putting more wear on the components. The faster we diagnose it, the more likely it’s a simple fix.
Replacement Cost & What’s Included
Here’s the straight San Jose pricing. A new Level 2 charger, installed, runs from $600 to $1,400. The spread depends on a few real-world factors we can usually pin down with a couple of photos and a quick visit.
- Charger unit cost: $350 to $700. A quality 32-amp charger from a brand we trust (Wallbox, ChargePoint, Emporia, Enphase) lands in this range. A 40-amp or 48-amp unit pushes toward the top. We don’t sell the no-name budget units because we’ve pulled too many of them off San Jose walls with melted internals.
- Labor: $200 to $400. That’s for a standard swap where the existing wiring and breaker are in good shape. We run new wire if it’s needed, but if your current installation used proper gauge wire, we’re not going to tell you it has to be replaced just to pad the bill.
- Breaker and wiring upgrades: $100 to $500 if needed. Some older San Jose homes have chargers on undersized breakers. If your existing setup isn’t code-compliant, we’ll say so and tell you exactly what it costs to fix. If it’s fine, we leave it alone.
- Permit: typically $50 to $150 in San Jose. We pull permits on every charger install. It’s not optional, and any shop that tells you to skip it isn’t doing you a favor.
Every quote includes the charger, installation, permit, and a walkthrough where we show you how to set the charge schedule and read the status lights. Our 90-Day Done Right Promise applies to every charger install. If something’s not right, Gus makes it right. One call and he’s back.
DIY or Call Us?
I’ll be straight with you, because that’s the only way Gus does business. Installing an EV charger is electrical work, and electrical work can kill you or burn your house down. Here’s what I’d do if it were my roof. If you’re uncomfortable in a panel or unsure what a double-pole breaker even looks like, don’t touch it. Call someone who does this every week.
What you can safely do, right now, without opening anything: reset the breaker, check that the charger’s plug is fully seated, and take the photos I mentioned earlier of the charger label and your panel. That’s the owner-level troubleshooting that helps us quote accurately over the phone.
What goes wrong with DIY charger swaps in the real world: undersized wire that overheats inside walls, breakers that don’t match the charger’s draw, ground faults that trip constantly, and voided warranties on chargers that were installed by someone who didn’t follow the manual’s torque specs. We’ve fixed enough of those to know they always cost more than doing it right the first time.
Call us at (877) 550-6892. A live person answers, day or night. We’ll tell you over the phone whether this is something we can handle same-week, and we’ll never ask you to sign anything tonight. Take two weeks. Think about it. The price will be the same.
FAQs
Typical lifespan for a quality Level 2 charger in the San Jose area is 7 to 12 years, though it depends on how often you’ve used it and where it’s mounted. Units installed outdoors, facing afternoon sun in neighborhoods like Willow Glen or Almaden Valley, run hotter and wear out seals and relays faster than units in shaded garages. If your charger is past year 8 and giving you intermittent trouble, replacement usually beats repair on cost per remaining year.
Some chargers can be repaired, and we’ll tell you straight if yours is one of them. Common repairable failures include a worn plug, a loose internal connection, or a faulty relay. But if the internal electronics board is fried, repair rarely makes sense because the part and labor approach the cost of a new unit with a full warranty. We’ll quote the repair honestly and tell you if you’re better off replacing. Call (877) 550-6892 and we’ll give you a straight answer over the phone.
For a straightforward replacement of an existing charger with compatible wiring and breaker, the swap takes about 1.5 to 2.5 hours. If the charger location is far from your panel, or we need to run new wire and pull a permit, figure on a half-day. As a local San Jose shop with an owner who still lives where he grew up, we don’t schedule jobs in a way that leaves you stuck without a charger longer than necessary.
We maintain inventory of the common charge units and components right on the truck, and we can find specific brand units through our local supply houses in Santa Clara County, usually within 2 to 3 days. We proudly serve San Jose and surrounding communities with brands including JinkoSolar for your solar array, plus Tesla, Enphase, and SolarEdge for connected equipment. There is no dispatch delay on our service, and we back every install with the 90-Day Done Right Promise.
Got a charger that’s giving you trouble? Call (877) 550-6892 for a free estimate. No pressure, no fine print. If we tell you it’s worth fixing, we’ll fix it. If we tell you it’s not, you can trust that too.
Written by Gus Petrakis, Owner, Gus’s Solar at Gus’s Solar, serving San Jose and nearby areas.