
Free bill analysis - bring a power bill, get the production math for your actual roof, panel brands like Qcells and REC compared side by side
If the pitch starts at your door and ends with "sign tonight for the special," sleep on it. The sun will still be there tomorrow; so will we.
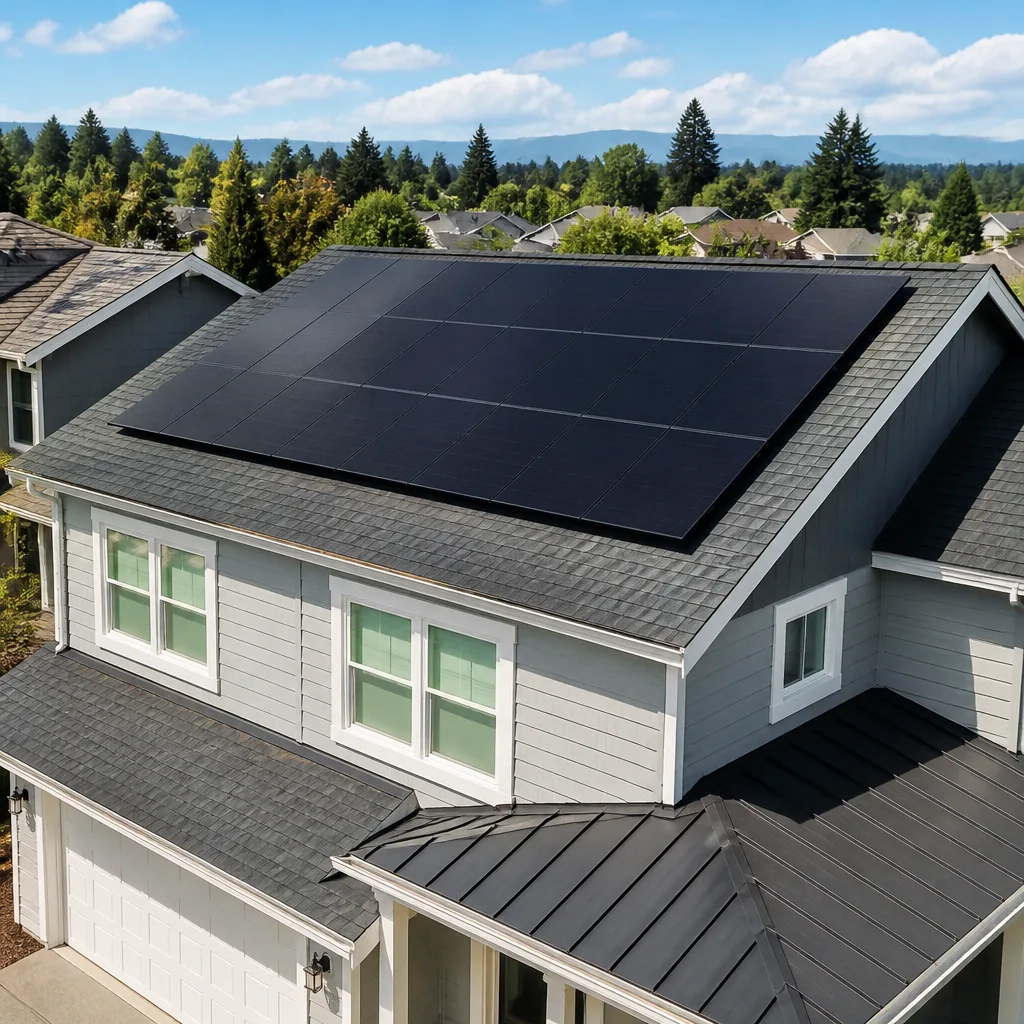
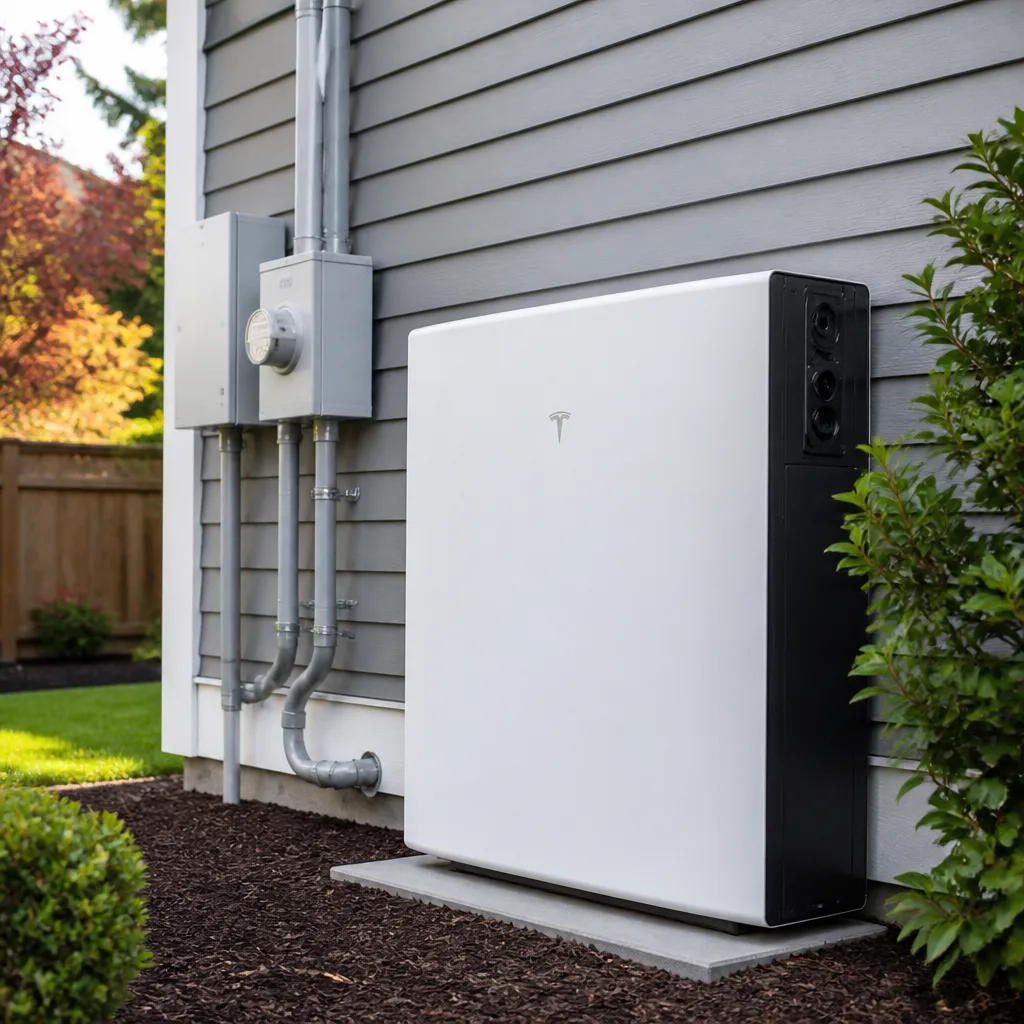
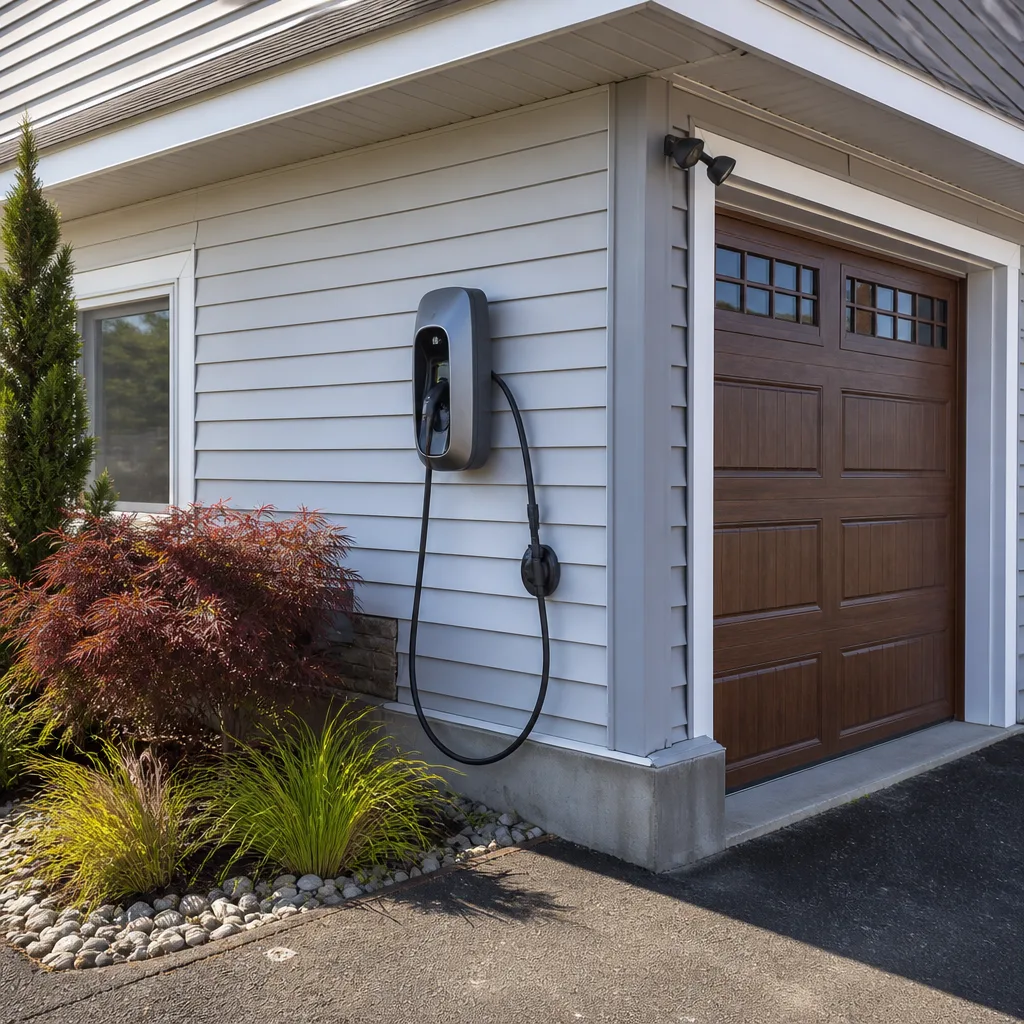
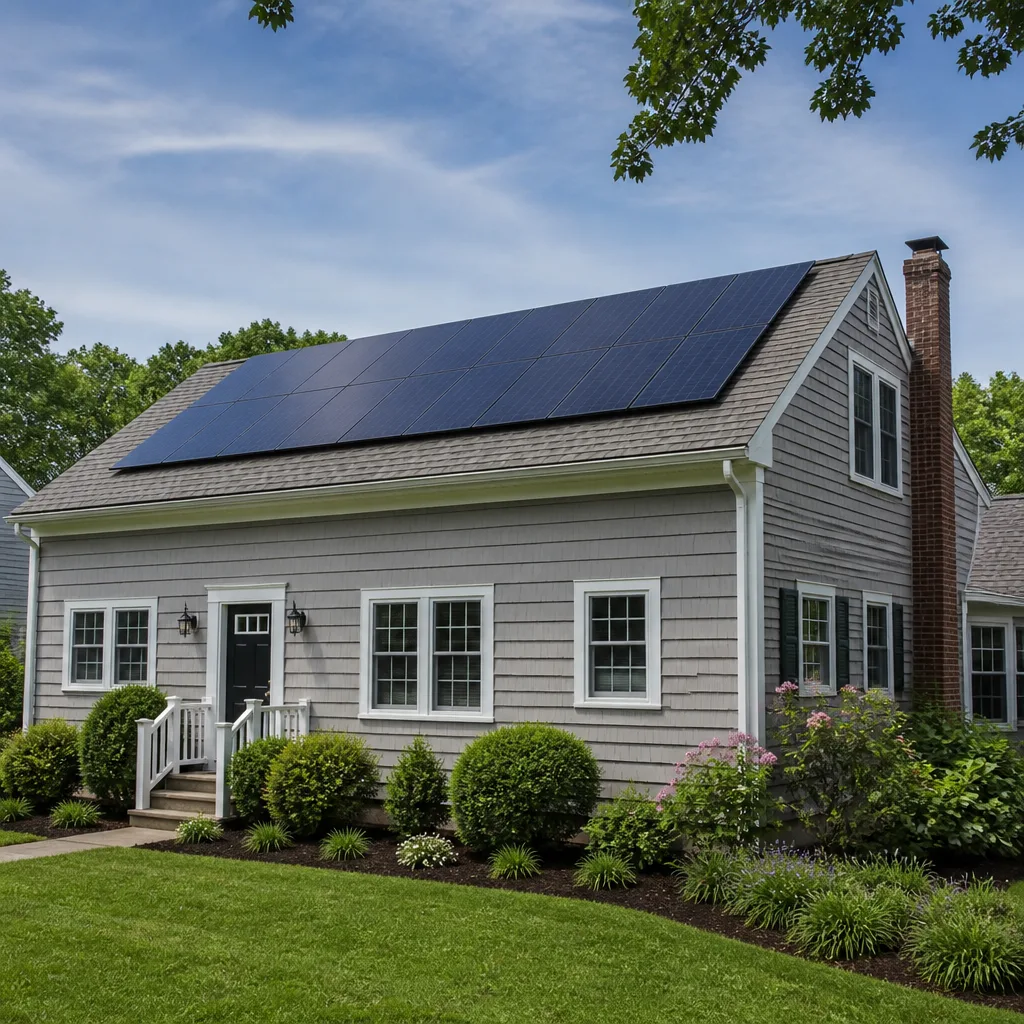
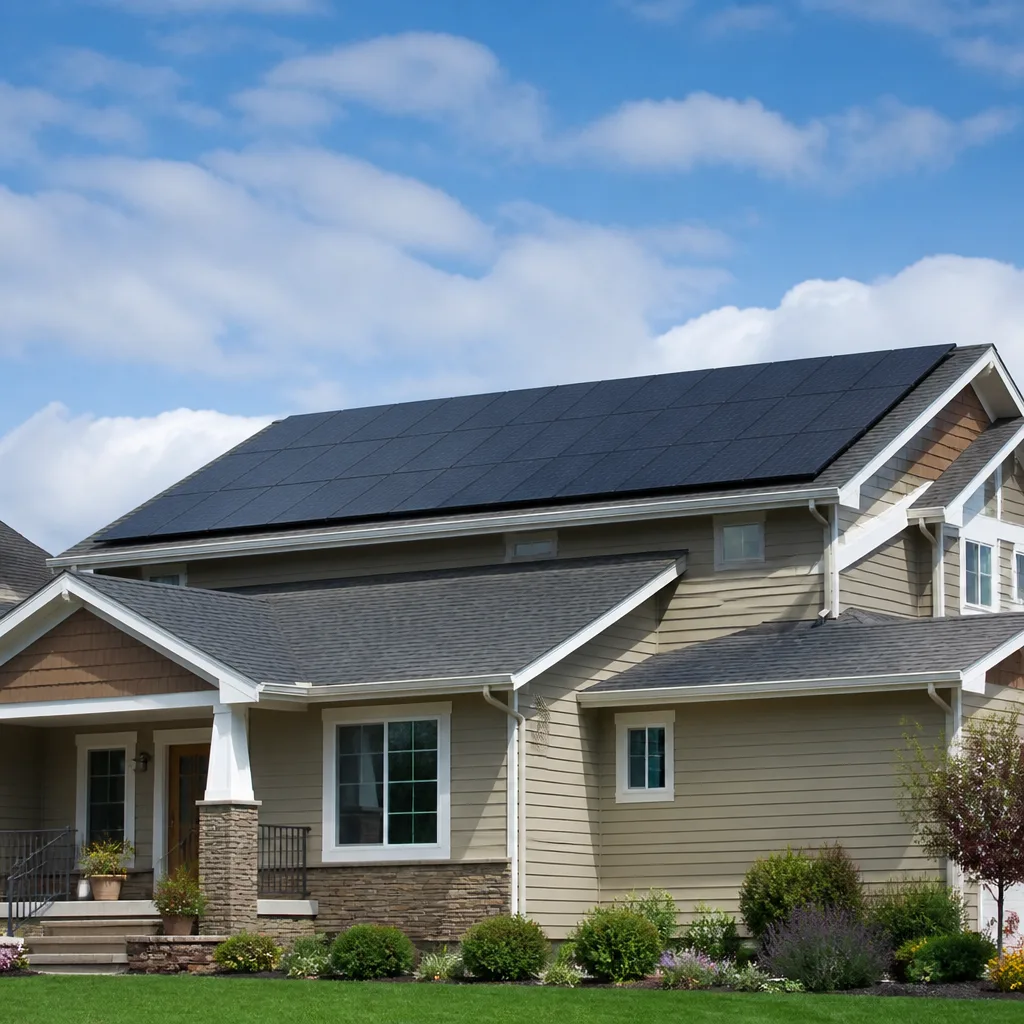
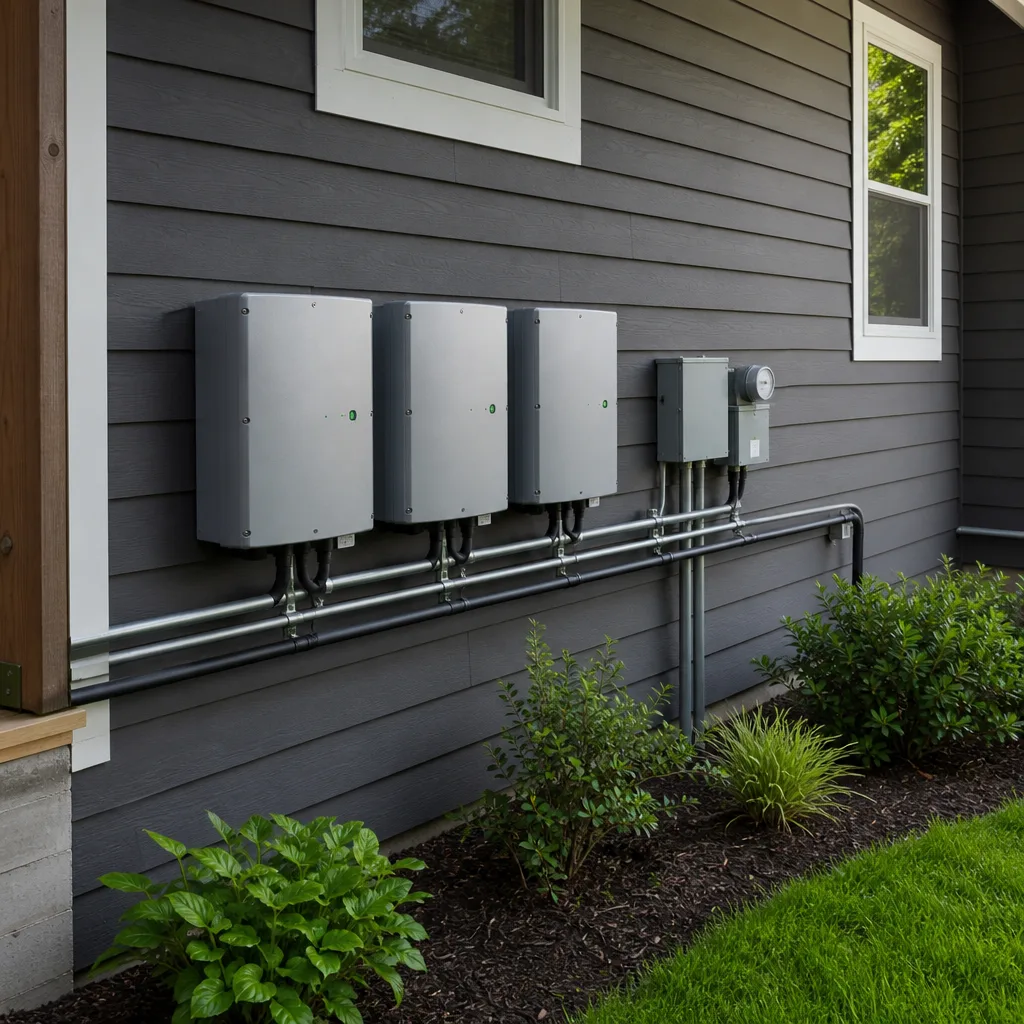
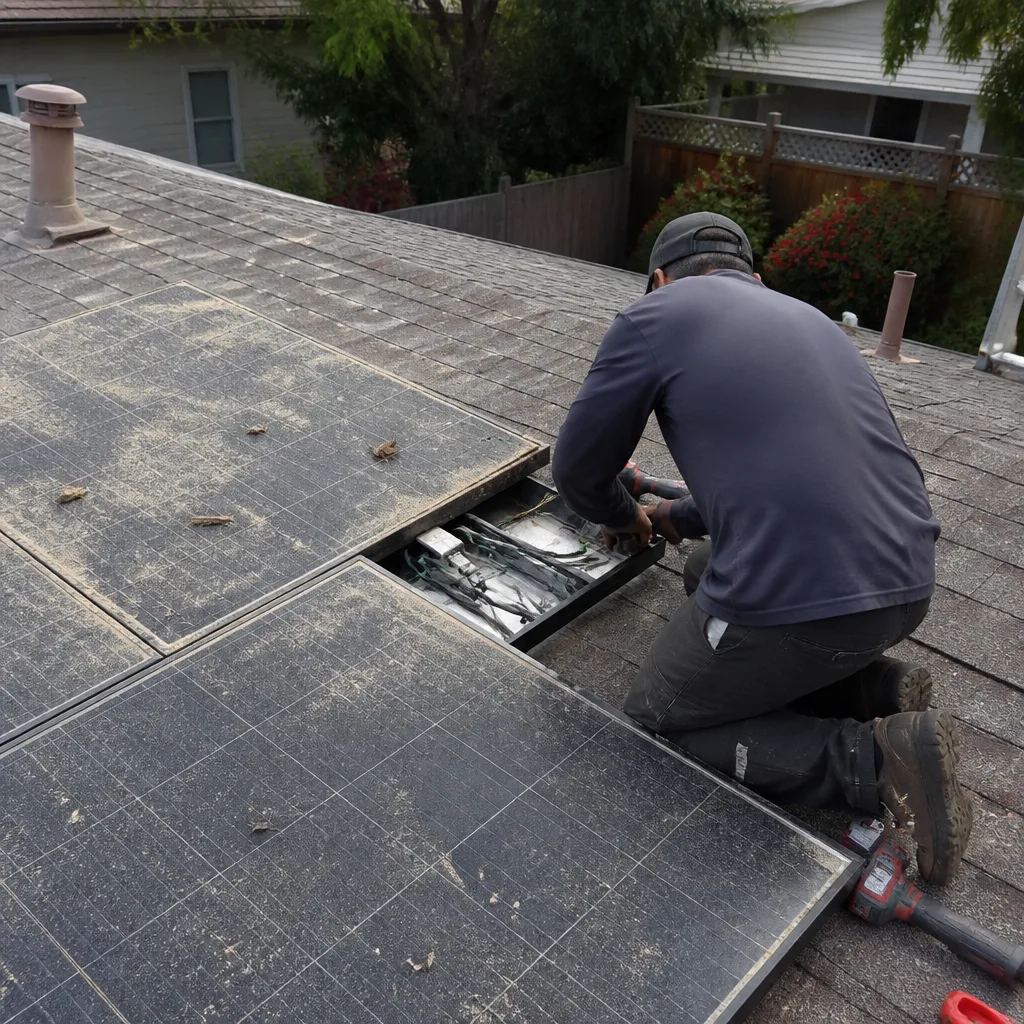 Before
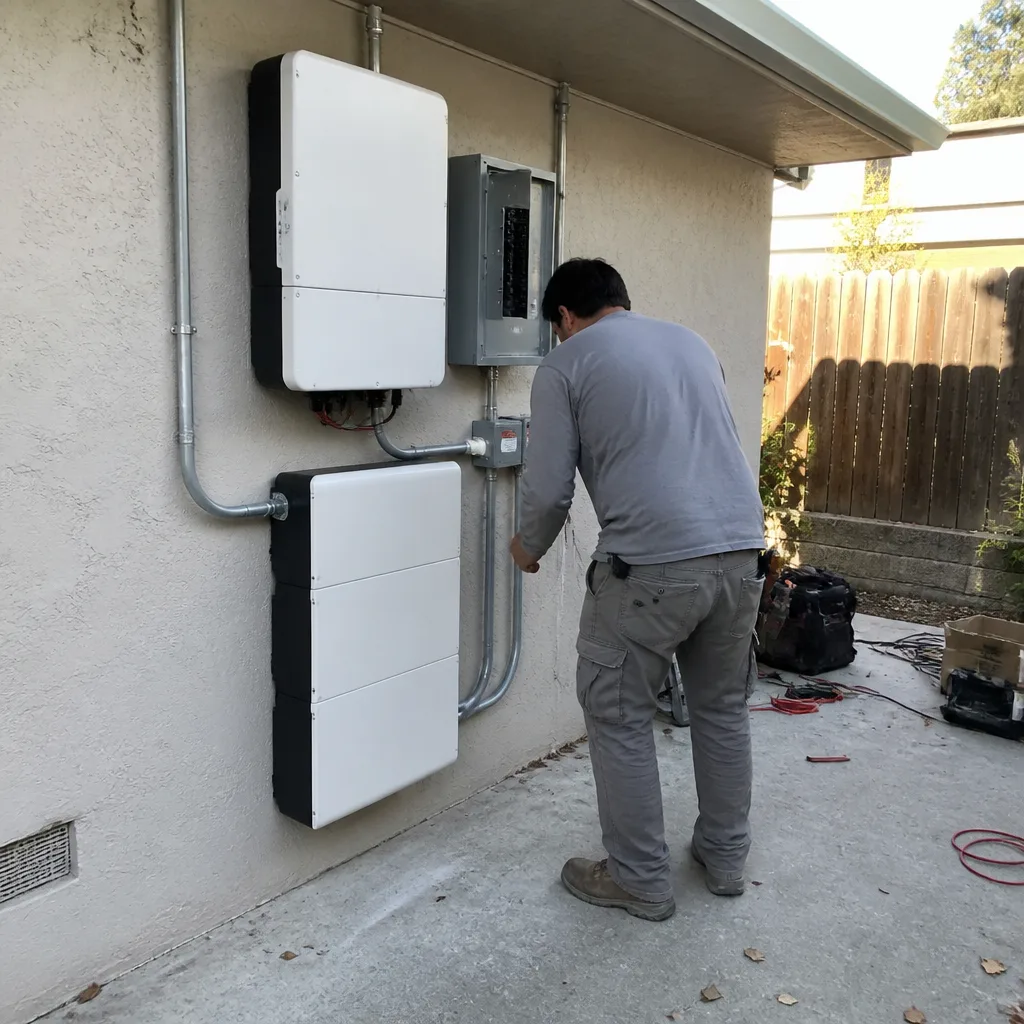 After
After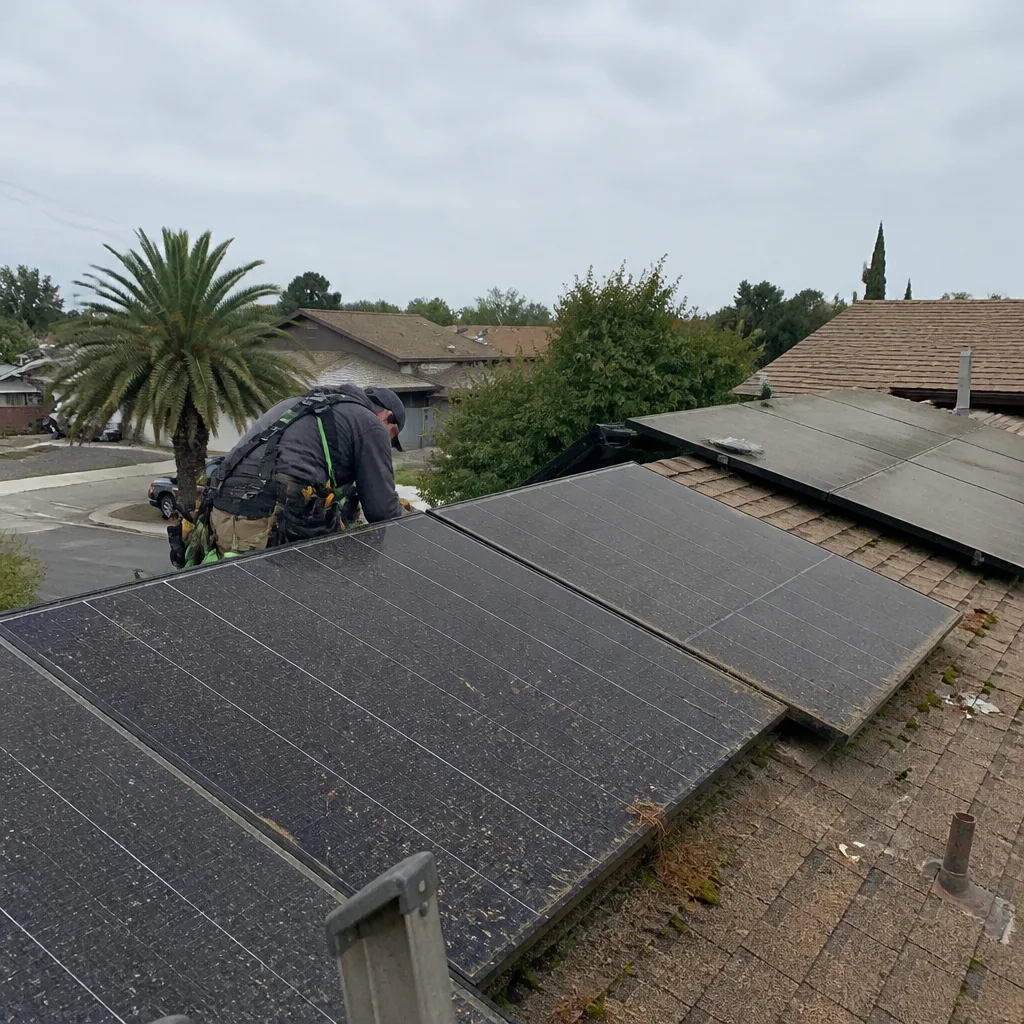 Before
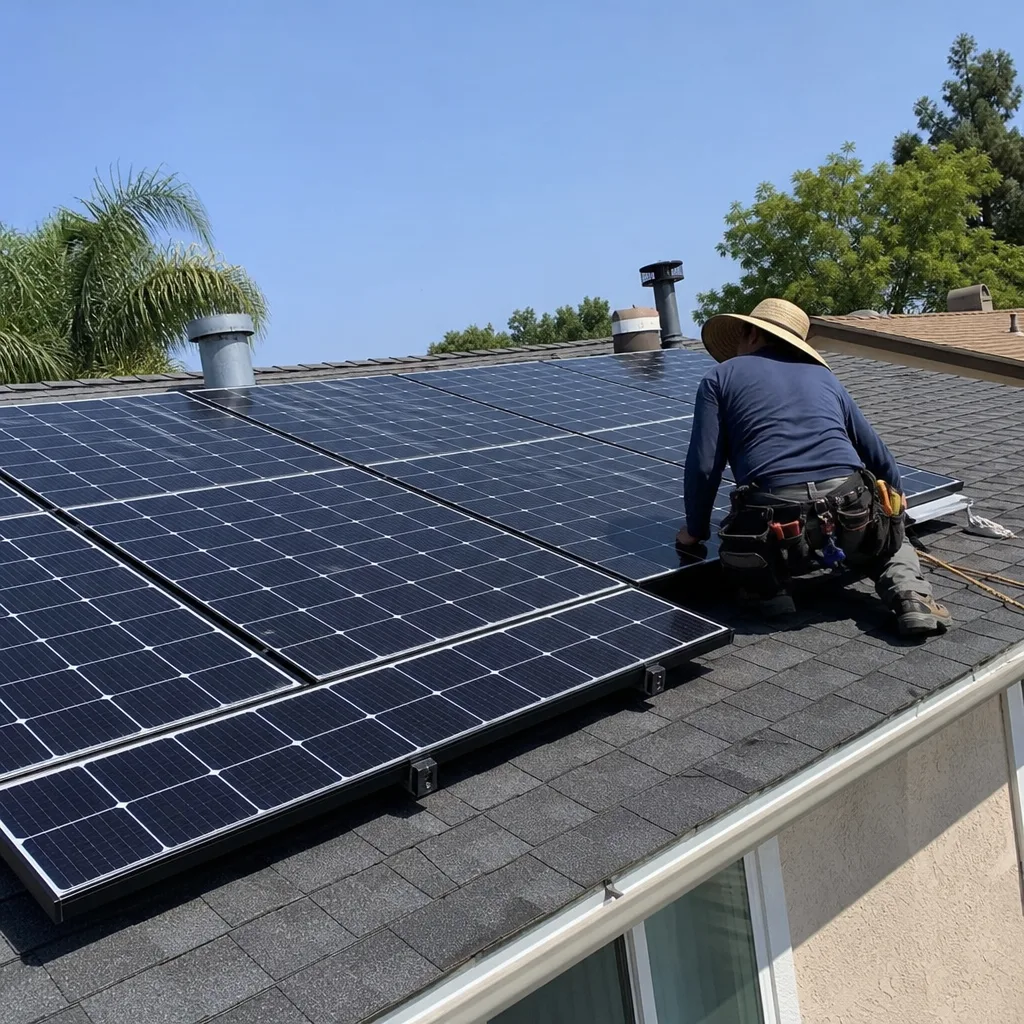 After
After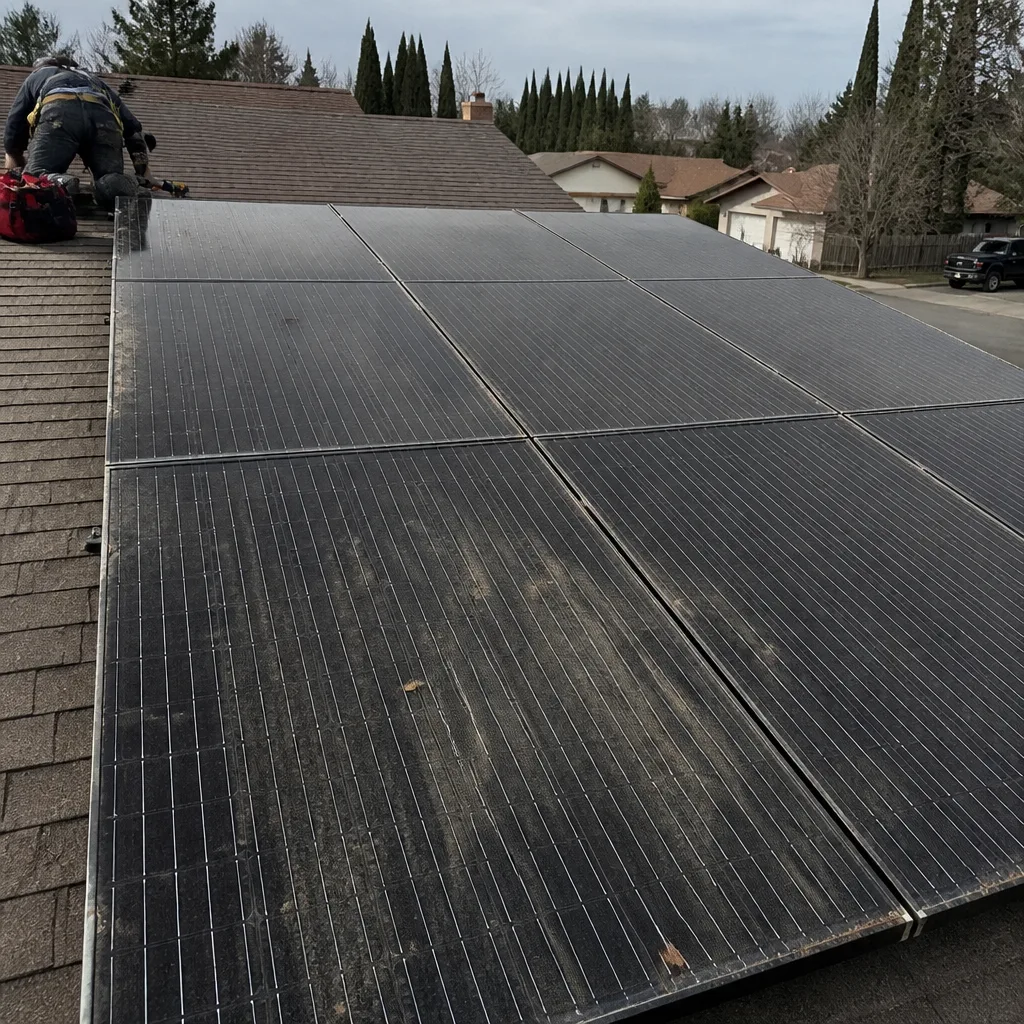 Before
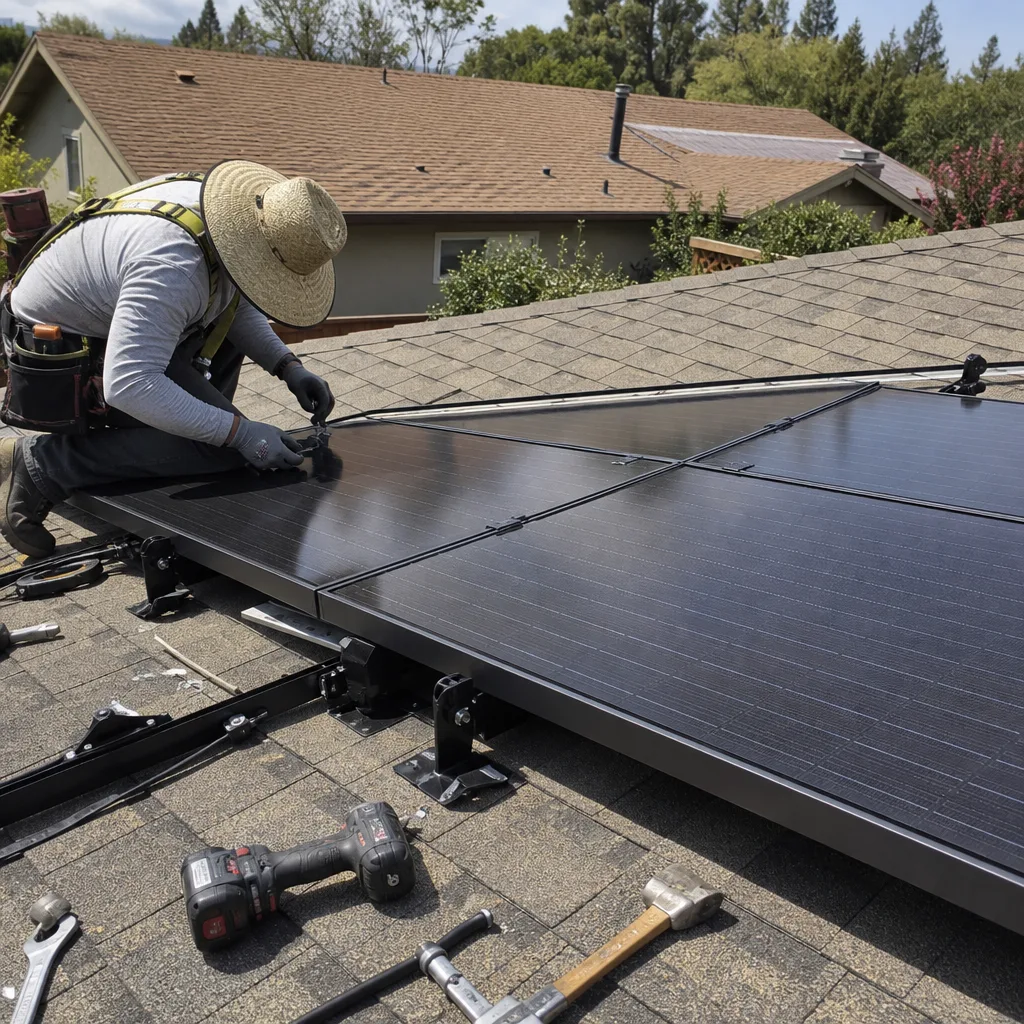 After
AfterREC Solar Panel Installation: The San Jose Owner’s Guide
If you have REC panels that were installed poorly, damaged by weather, or simply aging out, we stock REC-compatible mounting hardware, rail systems, flashed roof attachments, microinverter brackets, and full panel replacements in San Jose. A typical REC solar panel installation or panel swap on an existing roof in San Jose runs $2,800 to $6,400 installed, depending on the number of panels and roof condition, and in most cases we can be on your roof within 48 hours. Most San Jose homeowners call us after a storm knocked a branch onto an array, or after an inspector flagged an older installation that was never flashed correctly. Sometimes it’s simpler than that: the system underperforms for months and nobody notices until a PG&E bill lands higher than the same month last year.
Here’s the thing we tell every REC owner who calls: we’re an independent shop, not a factory installer for REC. That means we work on your behalf, not on REC’s warranty clock. And because Gus Petrakis grew up in Willow Glen and still lives ten minutes from his old high school, when we quote a number for your REC array, it’s a San Jose number, with San Jose labor rates and San Jose roof realities baked in.
Which REC Models This Applies To
We install and service the full REC lineup currently on San Jose rooftops: the Alpha Pure series (Alpha Pure, Pure-R, Pure-RX), the N-Peak and N-Peak 2 lines, the older TwinPeak and TwinPeak 2 models, and the legacy REC Solar series that many South Bay homes installed between 2012 and 2016. The compatibility gotcha most people don’t know: REC changed the frame depth and mounting clamp zones between the TwinPeak generation (thinner frame, tighter tolerance) and the Alpha Pure generation (deeper frame channel, different clamp spec). A clamp that fits your neighbor’s 2015 TwinPeak 2 may not seat correctly on a 2023 Alpha Pure-R, and that’s how you end up with a panel that walks loose in the first winter windstorm.
Here’s how we identify the right part on site: we check the model number printed on the backsheet label (visible from the underside of the panel), we measure the frame depth, and we pull up REC’s current clamp-zone diagram for that exact series. We do not guess and we do not use a universal bracket and hope for the best. For OEM-vs-aftermarket, honestly: REC’s own mounting brackets are solid but expensive, and for most retrofits we use IronRidge or Unirac rail with manufacturer-approved REC clamp adapters. You get the same engineering spec at roughly 30% lower hardware cost, and it carries the same roof-penetration warranty when installed to spec.
Signs Your REC Solar Panel Installation Is Failing
- Water staining on the ceiling below the array. This almost always traces back to a roof penetration that was never flashed or was flashed with the wrong boot for a tile roof. We see this most often on installs from the 2014-2018 solar rush in Almaden Valley and Evergreen, where crews skipped the flashing to save 20 minutes a penetration.
- Panels visibly shifted or lifted at the corners. Wind uplift on a shallow-pitch San Jose roof will walk a poorly clamped panel out of its rail over two or three winters. You’ll spot one panel sitting higher than its neighbors from the street.
- Production numbers dropping with no shade change. A loose connection at a microinverter bracket, a cracked module from a fallen branch, or a ground fault caused by a chafed wire behind a panel can shave 10-30% off your daily output. Your monitoring app will show it before you feel it on the bill.
- Visible corrosion or rust on mounting hardware. Coastal-adjacent air in San Jose isn’t as salty as Santa Cruz, but cheap zinc-plated hardware still corrodes after 7-10 years. Quality installs use stainless or anodized aluminum, and they don’t rust.
- Roof leak only after heavy rain. That’s a flashing problem at the penetration, not a panel problem. The panel is fine. The install wasn’t.
Replacement Cost & What’s Included
| Scope | Typical Price Range (San Jose) | What’s Included |
|---|---|---|
| Single REC panel swap (match existing model) | $450 to $700 installed | Panel, labor, wiring check, production test |
| Single REC panel swap (newer/different series, rail adapter required) | $550 to $900 installed | Panel, adapter hardware, labor, production test |
| 3-6 panel swap with re-clamping of existing array | $1,400 to $3,200 installed | All panels, hardware refresh, torque check on remaining clamps |
| Full array re-mount (rails, flashing, clamps, all hardware) | $2,800 to $6,400 installed | Complete hardware replacement, re-flash every penetration, panel re-install, production test |
What drives the spread: roof pitch, tile type (Spanish tile costs more in flashing time than composition shingle), single-story versus two-story access, and whether your existing rail is salvageable or needs full replacement. In San Jose we also price in the permit when one’s required, and we don’t surprise you with it on the back end. Every swap and re-mount carries the 90-Day Done Right Promise in writing. If it’s not right, Gus makes it right, and one call brings us back.
Bring us your original install invoice if you have it. We’ll match the hardware to what was quoted, and if the original installer cut corners, we’ll tell you exactly where.
DIY or Call Us?
We’ll be straight with you. There are two things you can safely do yourself: inspect visually from the ground (look for shifted panels, missing clamps, debris under the array) and photograph any damage you can see. That is where we draw the line. Working on a rooftop solar array means working near high-voltage DC wiring that does not turn off when your main breaker does. A single loose MC4 connector carries 400 to 600 volts in direct sun. That is not a zing-and-learn-moment; that is an arc flash. Add a sloped tile roof and a 40-pound glass panel, and the math gets worse.
What goes wrong when homeowners attempt their own REC panel work? Wrong clamps for the series (see above), overtightened bolts that crack the frame, and roof penetrations patched with caulk instead of properly flashed. Caulk fails in three San Jose summers. Then the leak is worse than the problem they were fixing, and now we’re repairing both the array and the roof deck. If you’ve got a panel acting up, call (877) 550-6892 before you get the ladder out.
FAQs
A properly installed REC panel array on a San Jose roof should stay leak-free and structurally sound for 25 to 30 years, while the panels themselves carry a 25-year output warranty. The weak points aren’t the panels: they’re the roof penetrations (flashing degrades in 10-15 years under California UV) and the mounting clamps (torque drifts over thermal cycling). Call (877) 550-6892 and we’ll do a free visual check of your array’s mounting hardware.
No, not in the field. A cracked panel, a delaminated backsheet, or a failed diode inside the junction box cannot be reliably repaired on a roof, and any “repair” you find online voids the panel’s warranty. The panel gets swapped; the wiring, rail, and flashing can often be saved. Here’s what I’d do if it were my roof: replace the failed panel, then have the rest of the array torque-checked while we’re up there. That second part costs almost nothing and catches loose clamps before they become bigger failures.
For a single panel swap with matching hardware, we’re typically on and off the roof in 2 to 3 hours, including production testing. A full re-mount with rail and flashing replacement runs one to two days depending on the array size and roof type. We stock common REC panel models and mounting hardware in our San Jose shop, which means most swaps happen with one visit, not a quote visit then a work visit.
We stock the most common REC panel models (Alpha Pure, Pure-R, N-Peak 2) along with REC-spec clamps, IronRidge rail, and flashings right here in San Jose. Less common models, especially discontinued TwinPeak variants, we can usually source from our Bay Area distributors within 3 to 5 business days. Phone number to check stock or schedule: (877) 550-6892.
We’re the local alternative to a national call center
We’ve been installing and repairing solar in San Jose and the South Bay since 2011, and we’ve never subbed out a job or hidden behind a ticketing portal. A live person answers our phone 24/7. The number on the truck is the number you call, and when you call it, you get us, not a dispatch queue in another state. If you bought your REC system from an out-of-state outfit and they’ve ghosted you on a warranty claim, you’re not stuck. We handle orphaned systems all the time, and we’ll tell you honestly whether the fix is worth doing before you spend a dollar.
No trip charge inside our own county. Free second opinion on any written estimate. Seniors and vets get 10% off, and that never expires. Call (877) 550-6892 for a straight answer about your REC array, or bring us your last PG&E bill and we’ll show you the year-25 math before we ever talk about a work order.
Written by Gus Petrakis, Owner, Gus’s Solar at Gus’s Solar, serving San Jose and nearby areas.